Friday, July 29, 2011

Easy Weathervane Quilt Block Tutorial...

 Hello again cute people!
I have another block that I want to
 show you how I 
have put together:)

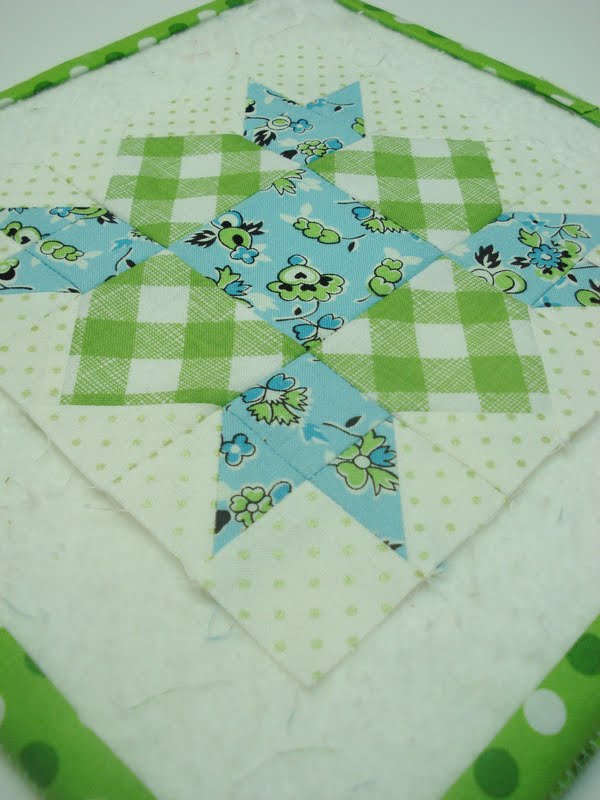
 It's the weathervane block...
which is another traditional block that
is a favorite of mine!
This block becomes easy to sew once you apply the drafting and cutting methods that I have been showing you.


If you are new to my tutorials...instructions for drafting and cutting your own blocks are here.
I have also cut squares instead of triangles for making the half square triangle units. Instructions for that are

(the green gingham and the center square are
 cut 2 1/2" and the rest are all 1 1/2")

Okay...now for a new lesson.
See the squares I have cut out of 
green gingham?...
well...
instead of making flying geese and
then sewing them onto a rectangle to end up
in a square unit...(which is what most patterns calls for)...
Instead, I just cut squares in
the first place.
I simply added easy corner triangles onto the top corners of each square to get
the unit shape required.


So I cut 2 white squares for each
easy corner triangle on a green square. 

Placed them RST ...

     And stitched from corner to corner...

clothline stitching as I go.

I trimmed off the excess leaving an approximate 1/4" seam allowance...

And pressed toward the triangle.

Now for the other side....

same thing.


With the 4 green gingham
square units complete...

I move onto the blue units.
2 of the blue squares and 2 of the
background squares will become
half square triangles.


I pressed these seams open as I sometimes do with half square triangles this small.
It reduces bulk...therefore the block lays flat...which means it's a more accurate size.


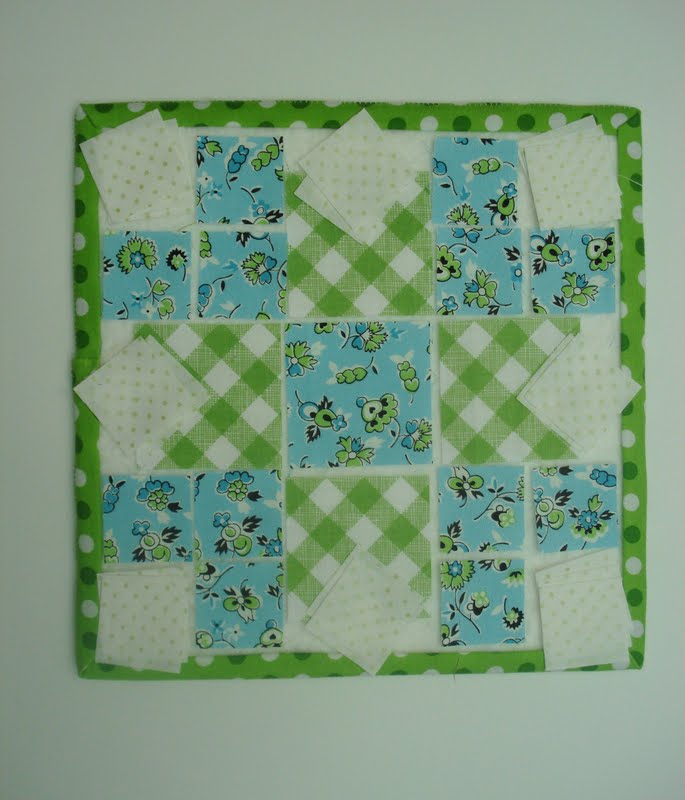
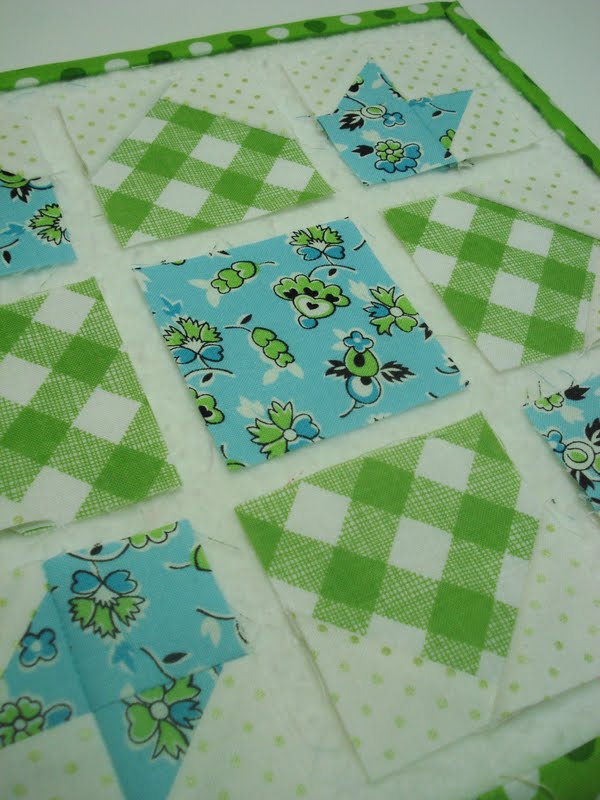
I laid all of the pieces out on my
It sure helps to make sure that everything is pointing in the right direction
before I continue!


I pressed these seams toward the square.


Once again...to reduce bulk...
I pressed this seam open.

I now have 9 squares to sew together
that are all the same size...
or in other words...
I have a 9 patch unit.

I sewed them into rows...
and then sewed the rows together...

And pressed the seams open.

I now have an accurate
6 1/2" x 6 1/2" (unfinished)
weathervane quilt block.
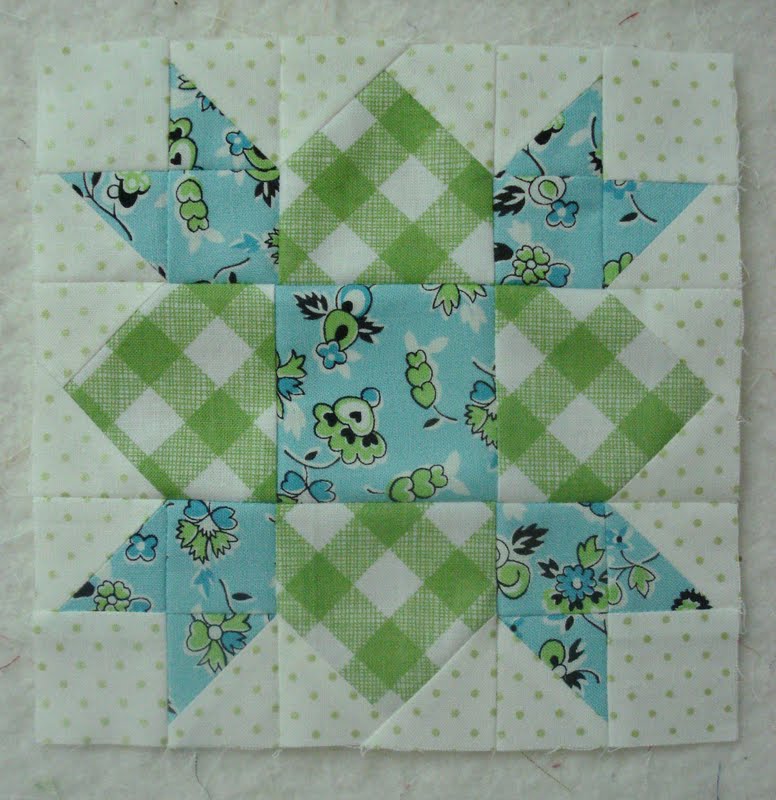
Fabric used;
Green Gingham = Sew Cherry
Blue Floral = DS Quilt Collection
White = Lakehouse Frosted Dot

I hope you're all enjoying my tutorials and that you are finding ways to use these easy methods on the other blocks that
you are making!
xx
Lori

Wednesday, July 27, 2011

Vingette and Hexie's...

Have you seen Vingette magazine?
It's an Austrailian magazine and has been hard to find here in the good ole USA...
but as luck would have it...I found mine


 In issue #2 there is a hexagon quilt that Kassidy and I both  fell in love with...
(we both have an ongoing hexi crush:)
We decided that we would make
the quilt together. 

 Some of the fabric that was used in
the original quilt is
Sweet Broderie by Rosalie Quinland.
We both love this line and so we
decided to use
it for our quilt too.
The quilt also has embroidered flowers on
some of the hexagons...fun!


 We will be using Cosmo embroidery floss...yummy!

Don't you just love the planning part of making a quilt?...I do:)
We need to make 980 hexies that we will stitch together to make 140 flowers.
We will also embroider on 59 hexagons.

You know I can't make a quilt
without gingham...
so we added my
Sew Cherry red gingham
along with a few others into the mix!

Along with several polka dots...

And a few more pieces of Sew Cherry and a couple of sweet strawberry prints for
extra cuteness.

 Cutting out the hexies was quick and fun.
We die cut them using the same method that I showed you long ago in my tutorial...
here. 
 We will paper piece the hexies just like this...

 And stitch the flowers together just like this.

We have them all cut now and ready to go.

 Kassidy thought the pile of fabric scraps that were leftover looked like confetti and were
"too cute to throw away"...

So she stuffed them all in a jar!
I have no idea what she'll do with them...
I'm sure she'll think of something:)
xx
Lori

Tuesday, July 26, 2011

Easy Corner Triangles on a Rectangle...


Well hello again!...are you ready for another easy corner triangle tutorial?
I sure hope so because that's what I've got for you today....
so sharpen your pencils and start
your rotary cutters !

This block is made up of rectangles and squares.
 I think it's a really 
fun and easy block to make
with this method.

First cut 8 - 2" x 3 1/2" rectangles. 
Then cut 16 - 2" squares that will become the triangles on each end of the rectangles. 

Lay out the pieces on your design board the way you would like to sew them together.  
It takes one rectangle and 2 squares for
each segment.


You know the drill by now...place a square on each end of the rectangle with right sides together and stitch from corner to corner.

This block is easy but can be
a little tricky...
if you don't pay attention which direction that you are stitching from
corner to corner...
make sure that you refer to a picture 
or your drawing often to
keep from making mistakes...

Notice that you do need to sew half in the opposite direction
in order for the block to work.


Fabric Used:
Red Dot = Sew Cherry
Red Floral = New Old Lecien
Pink Dot = Japanese
Pink Floral = Simply Sweet
White = Nantucket Summer

Okay...there you go.
Another easy method to sew an otherwise 
difficult block.
Are you still interested in more
block tutorials?
Let me know:)
xx
Lori


Related Posts with Thumbnails