

I'm so looking forward
to my next sew along...
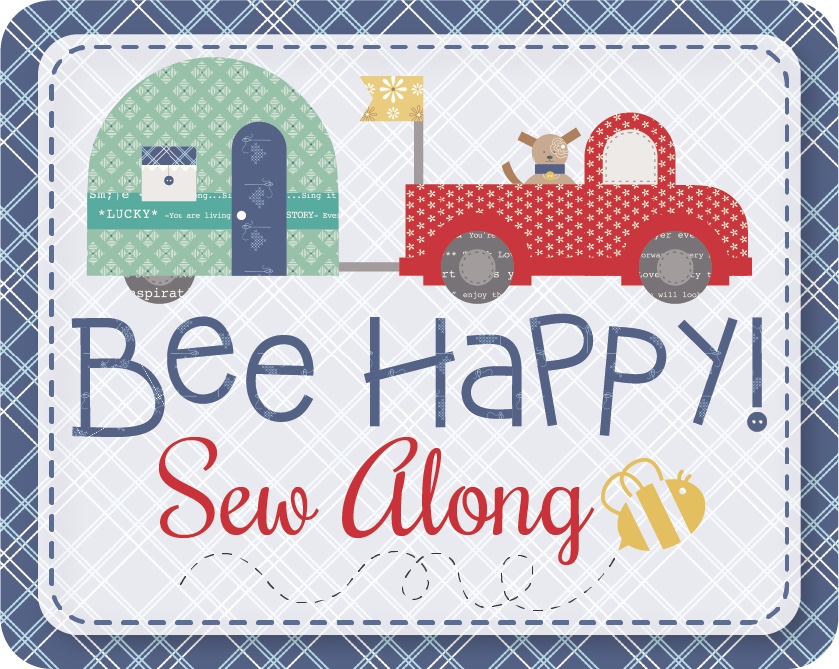
Bee Happy!
And I hope you will join us!

I'm excited to announce that
we have been able to
move up the date by 2 weeks!
We will be starting on
Monday, August 28th
and the sew along will
go until we are finished
with the quilt in October:)

This sew along will be
celebrating the
8 year anniversary
that I have been designing
fabric for
Riley Blake Designs!
My very first collection was
Sew Cherry that released in the very beginning.
This summer there will be a total of
3 Bee in my Bonnet collections...
YaY!
I'd love to tell you
all about them!

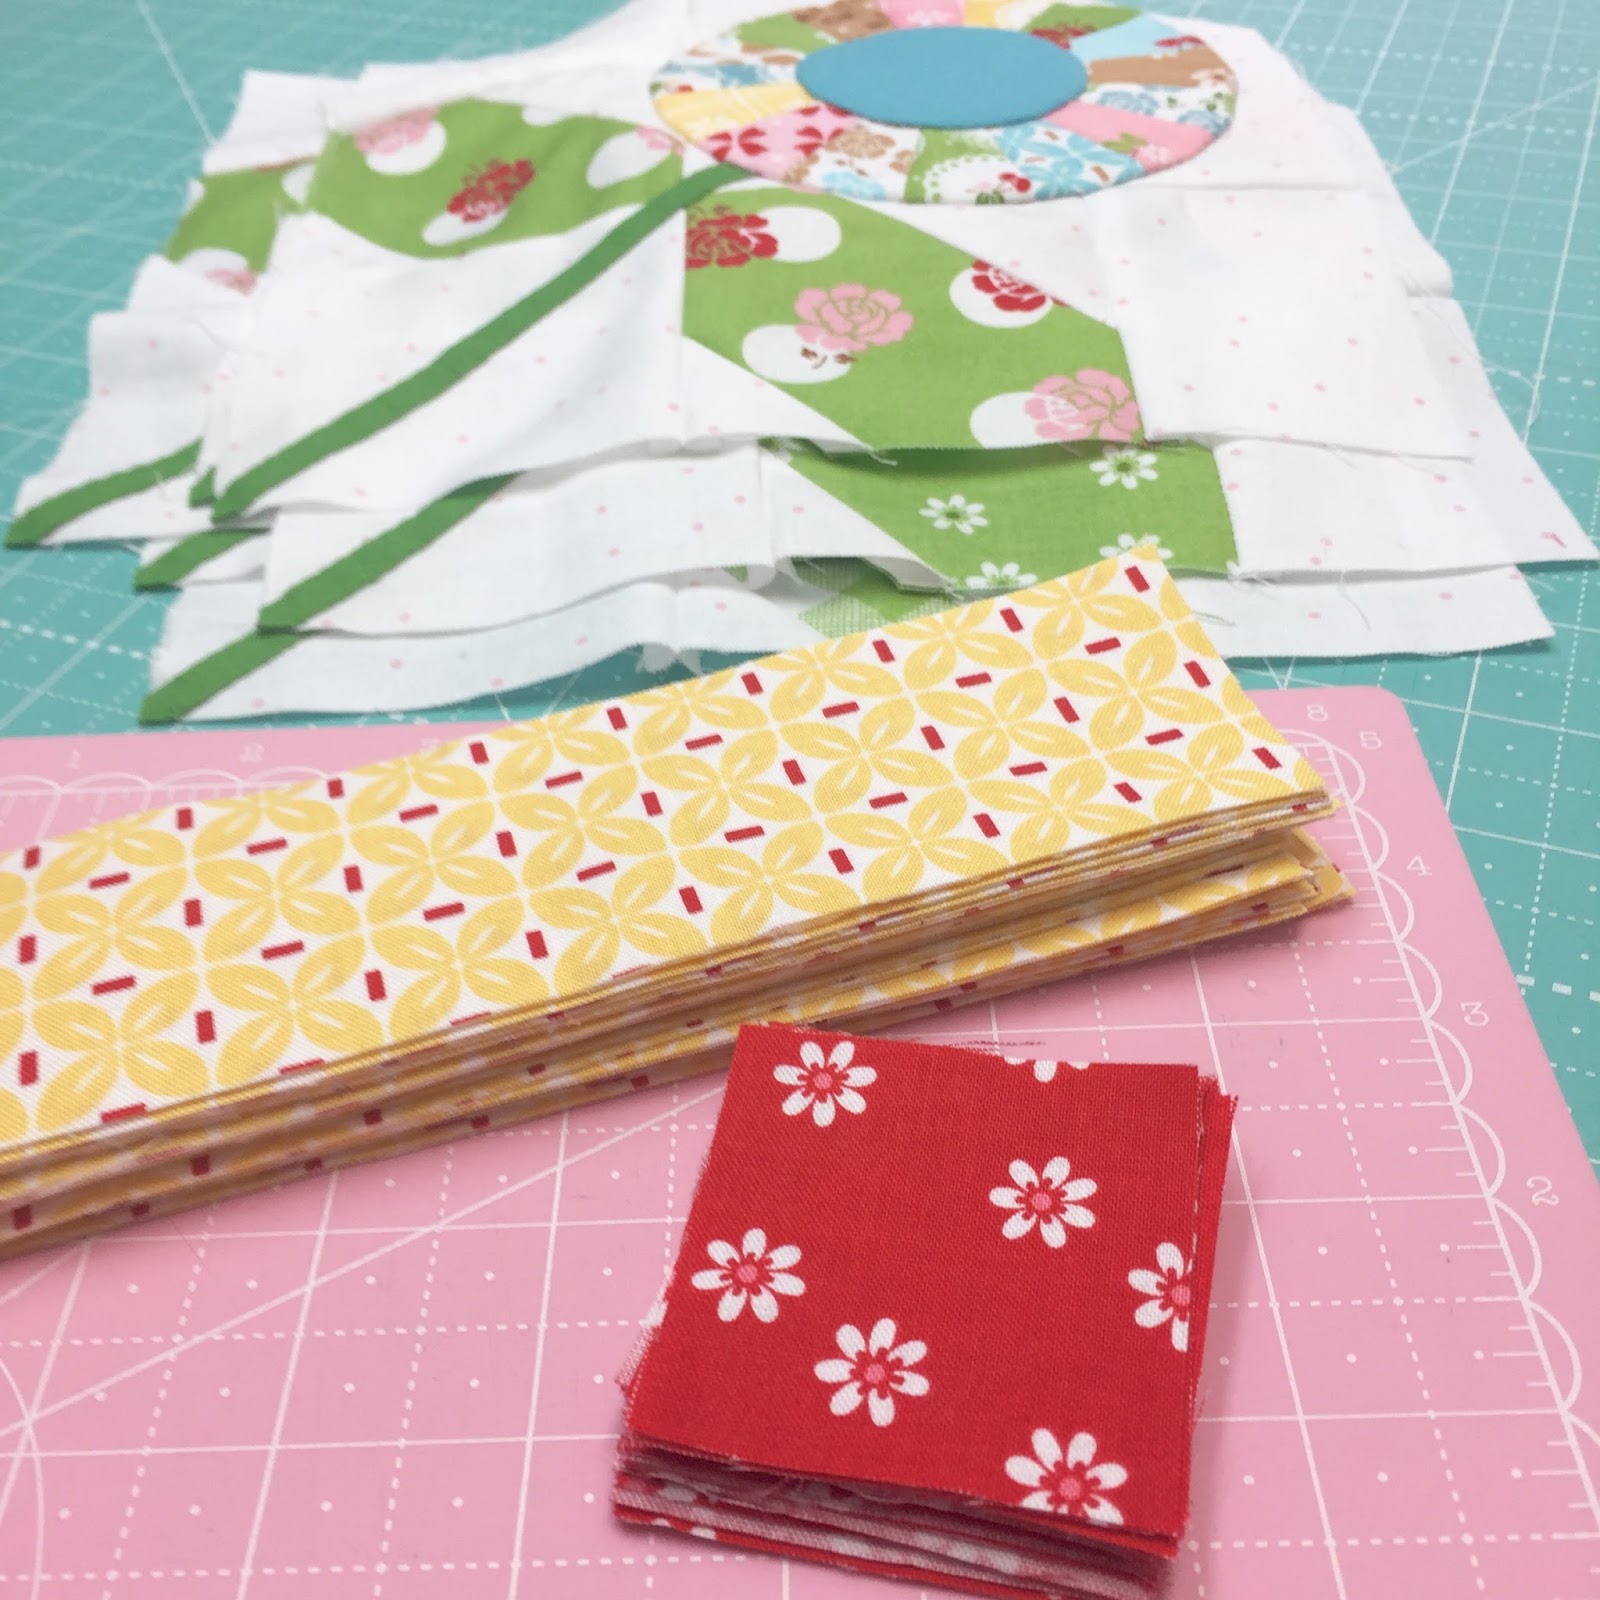
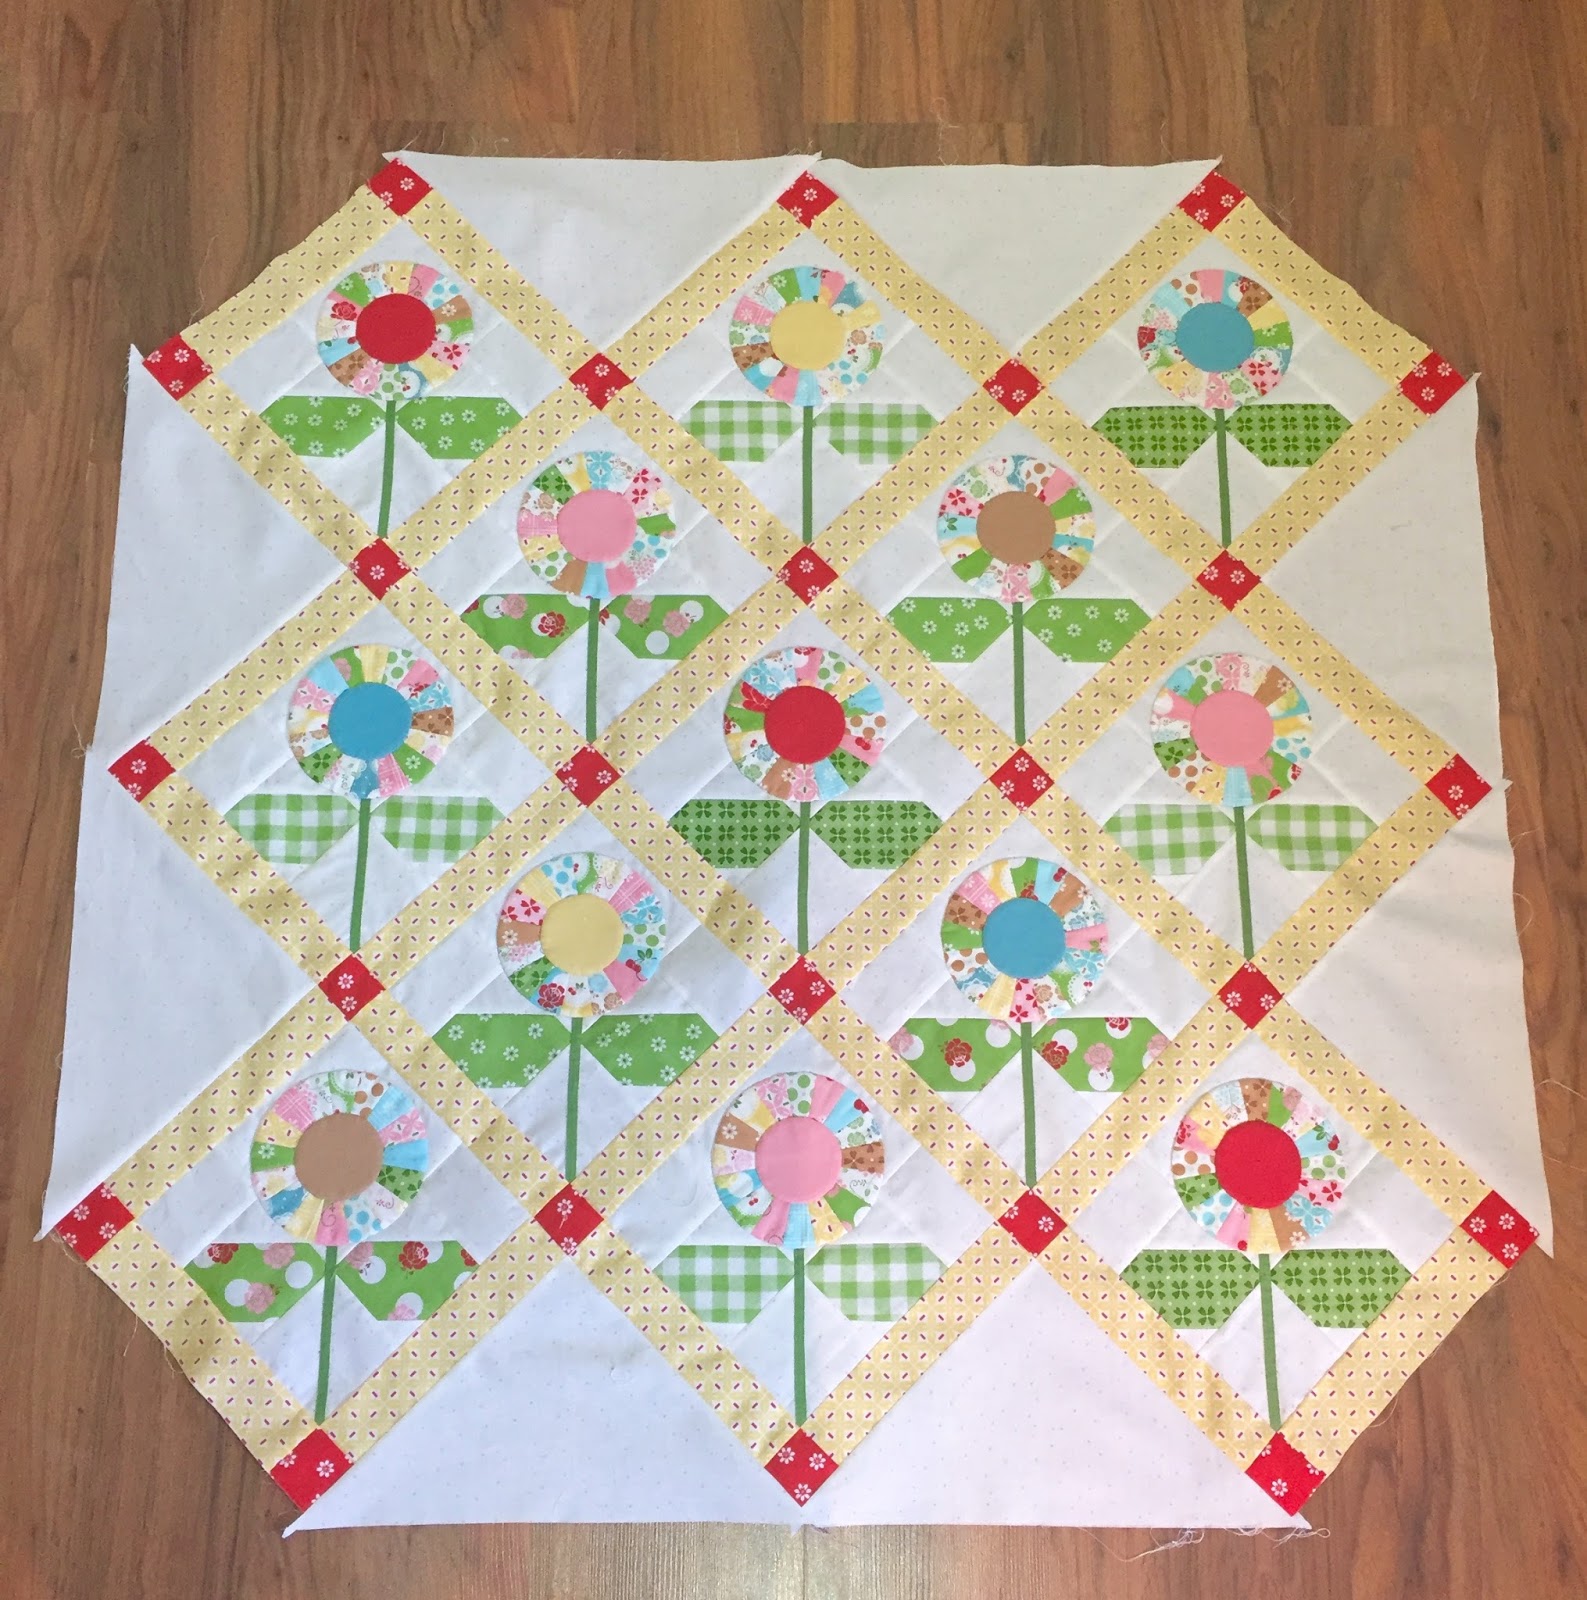
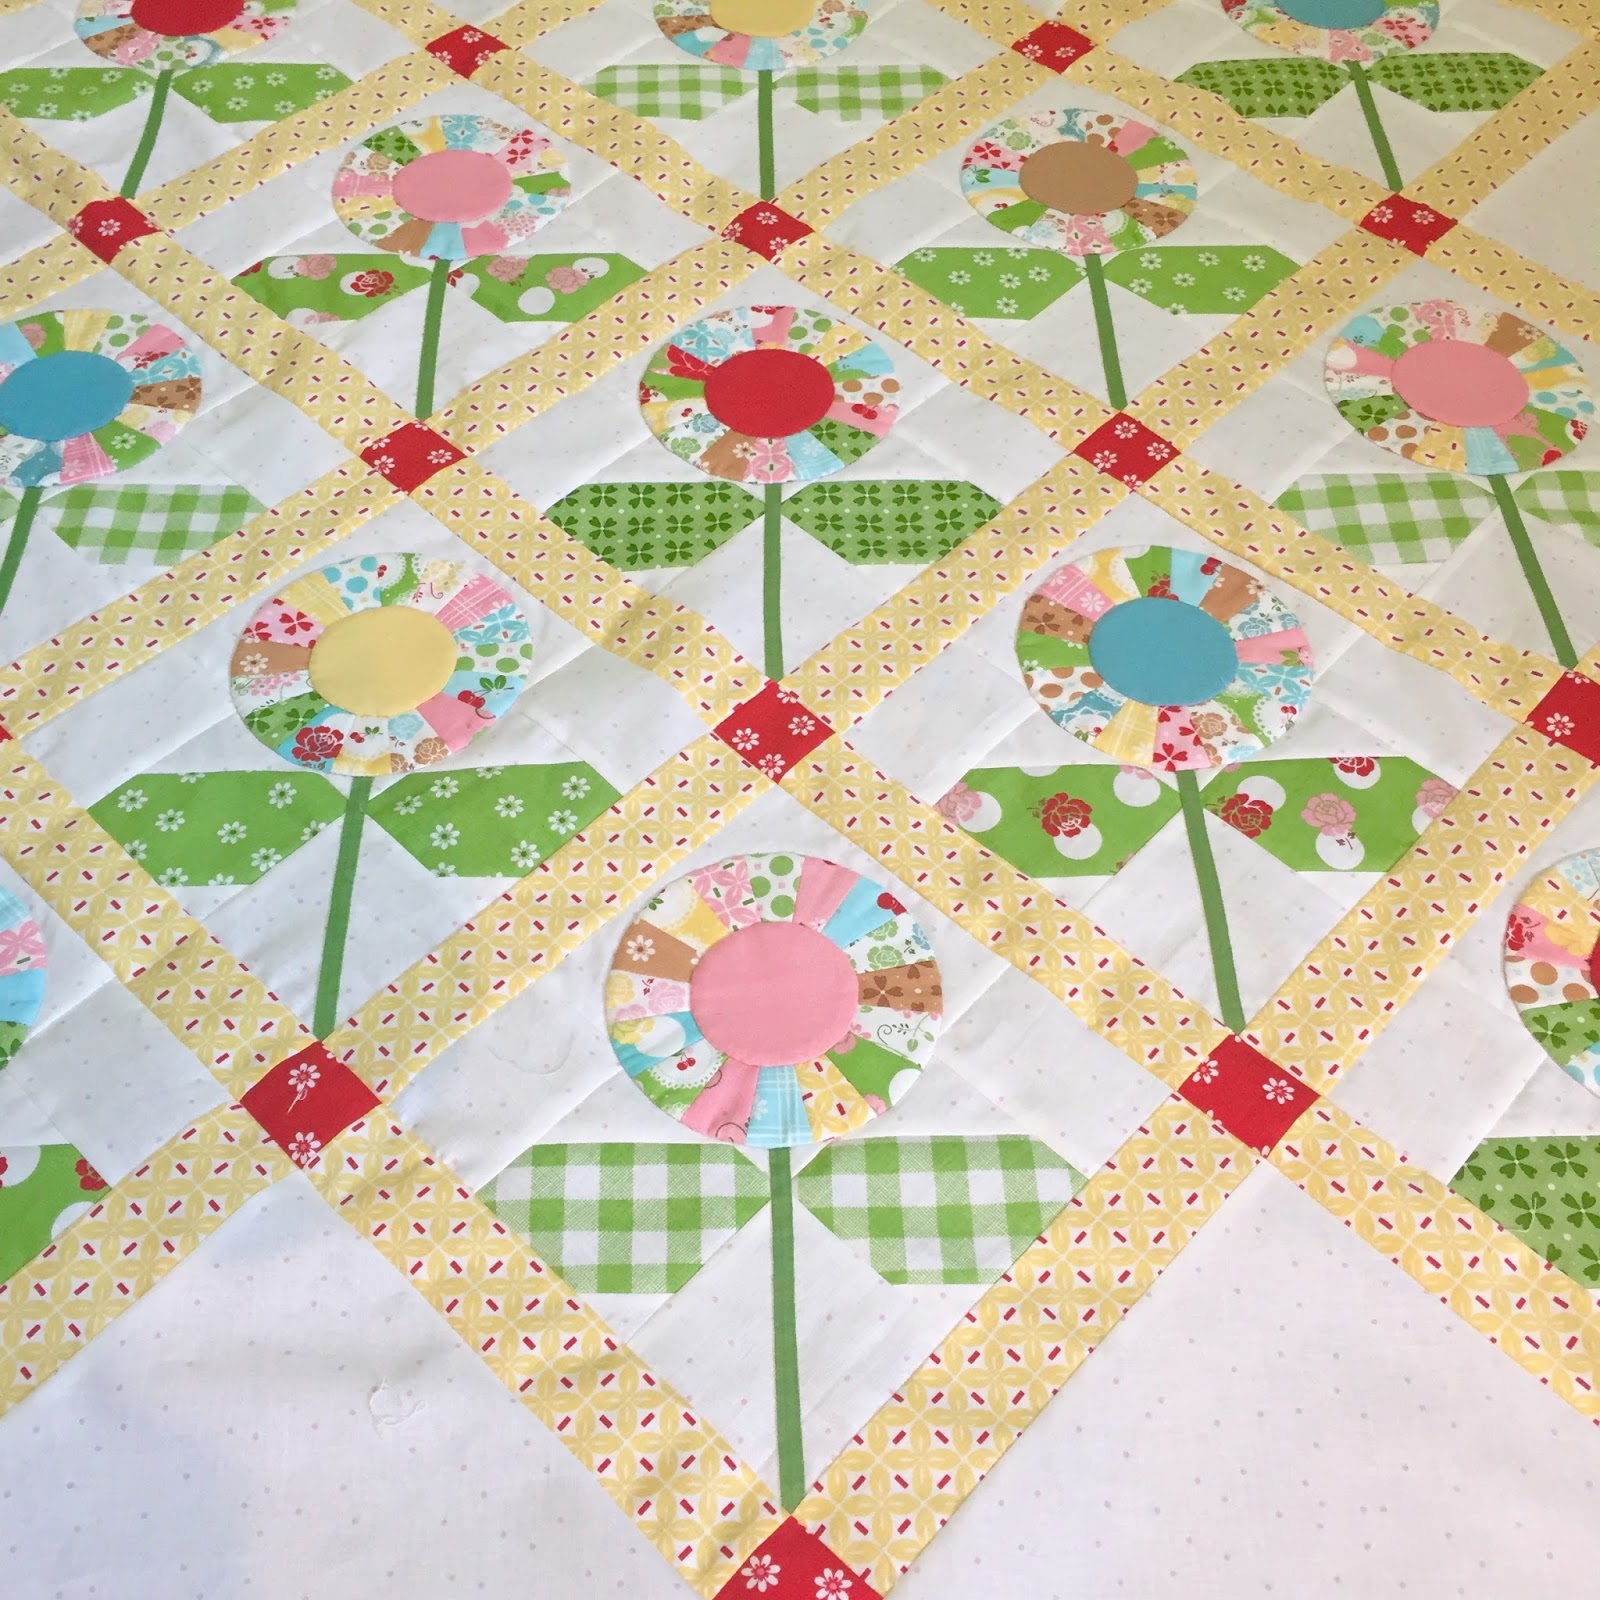
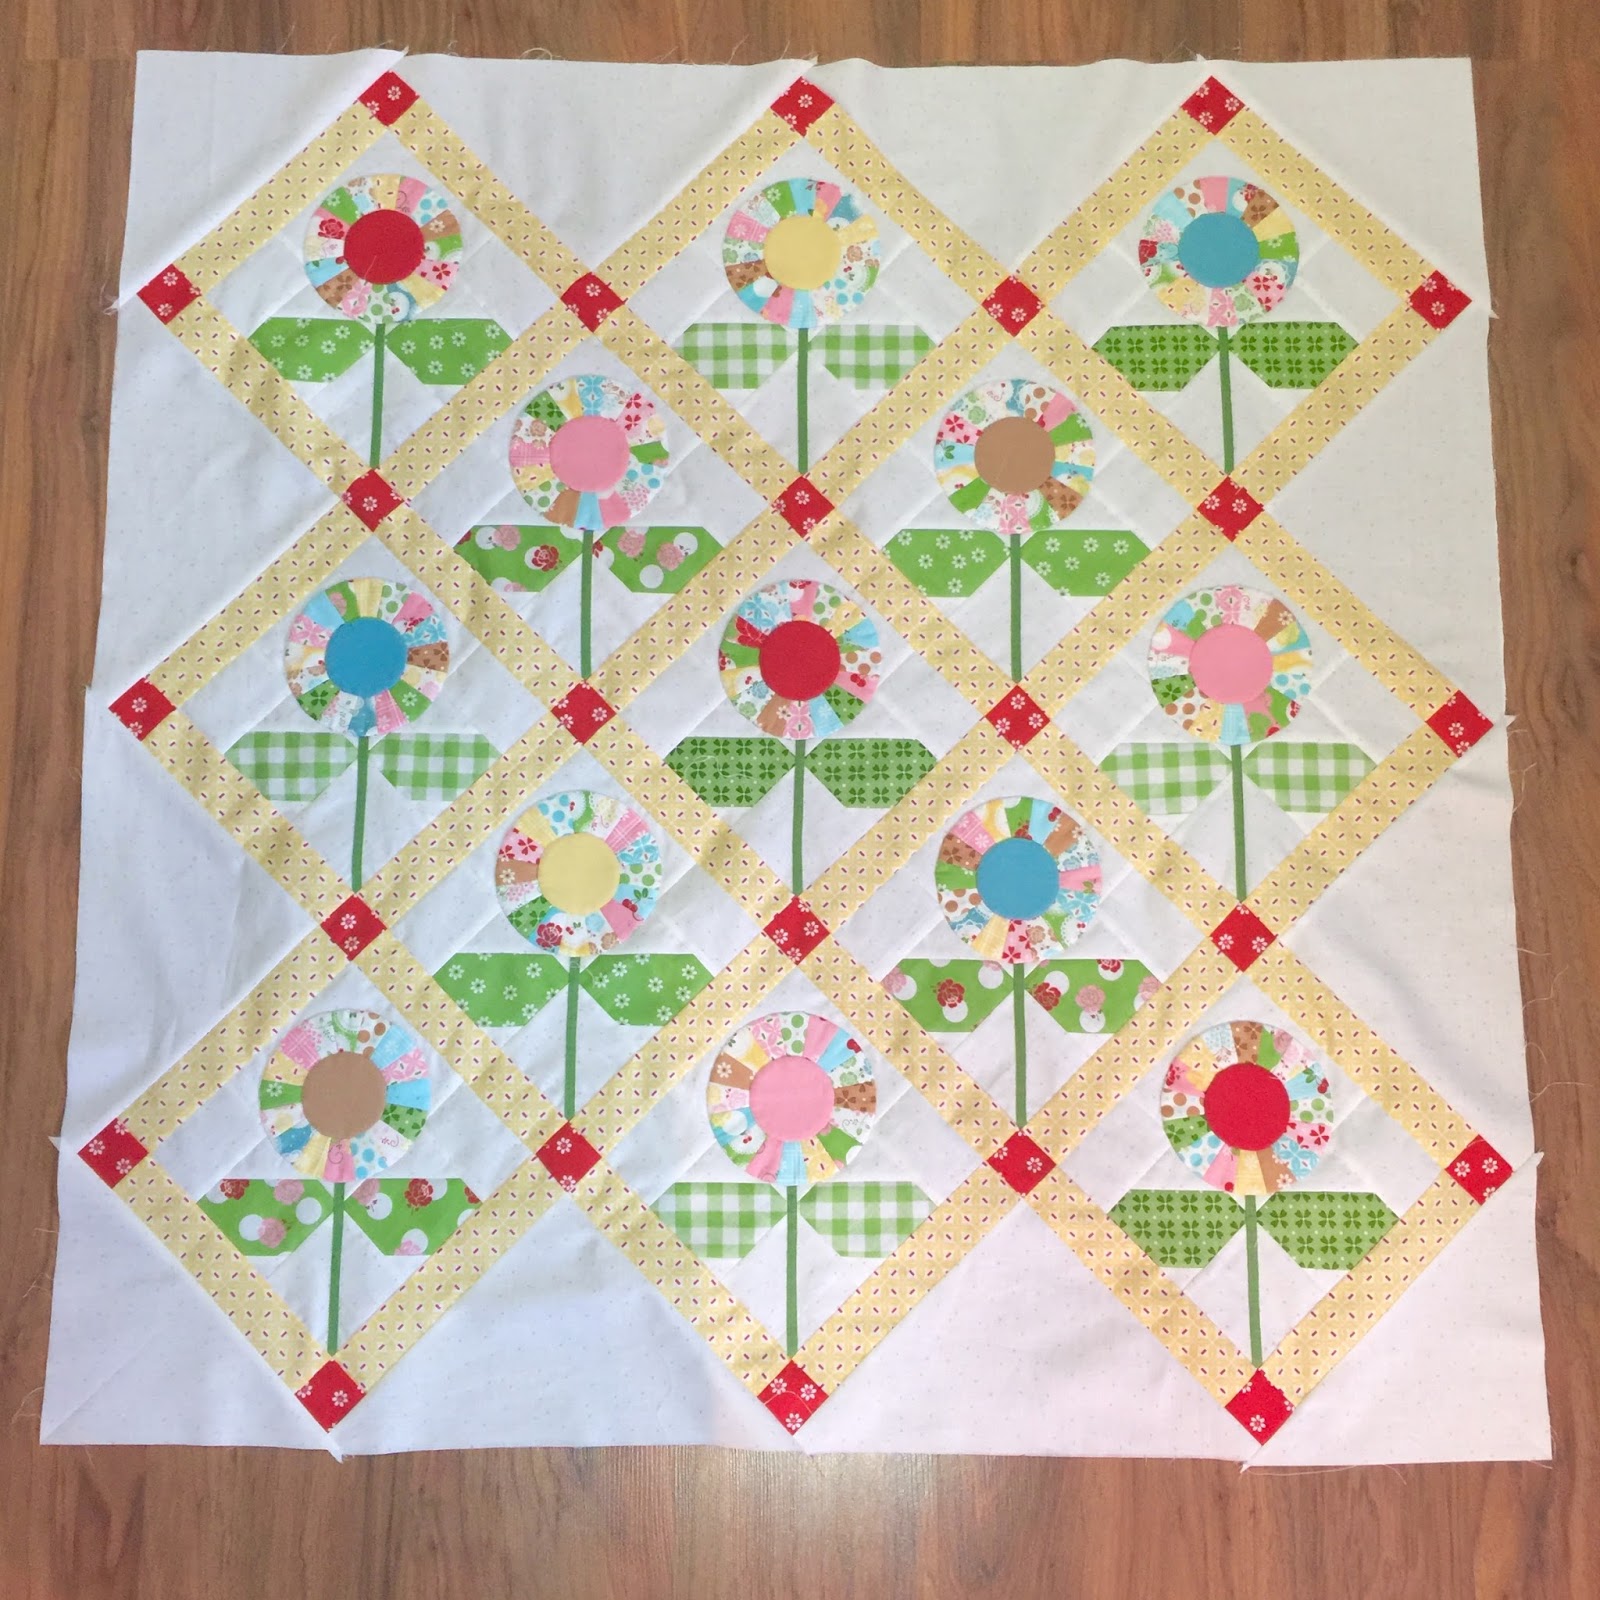
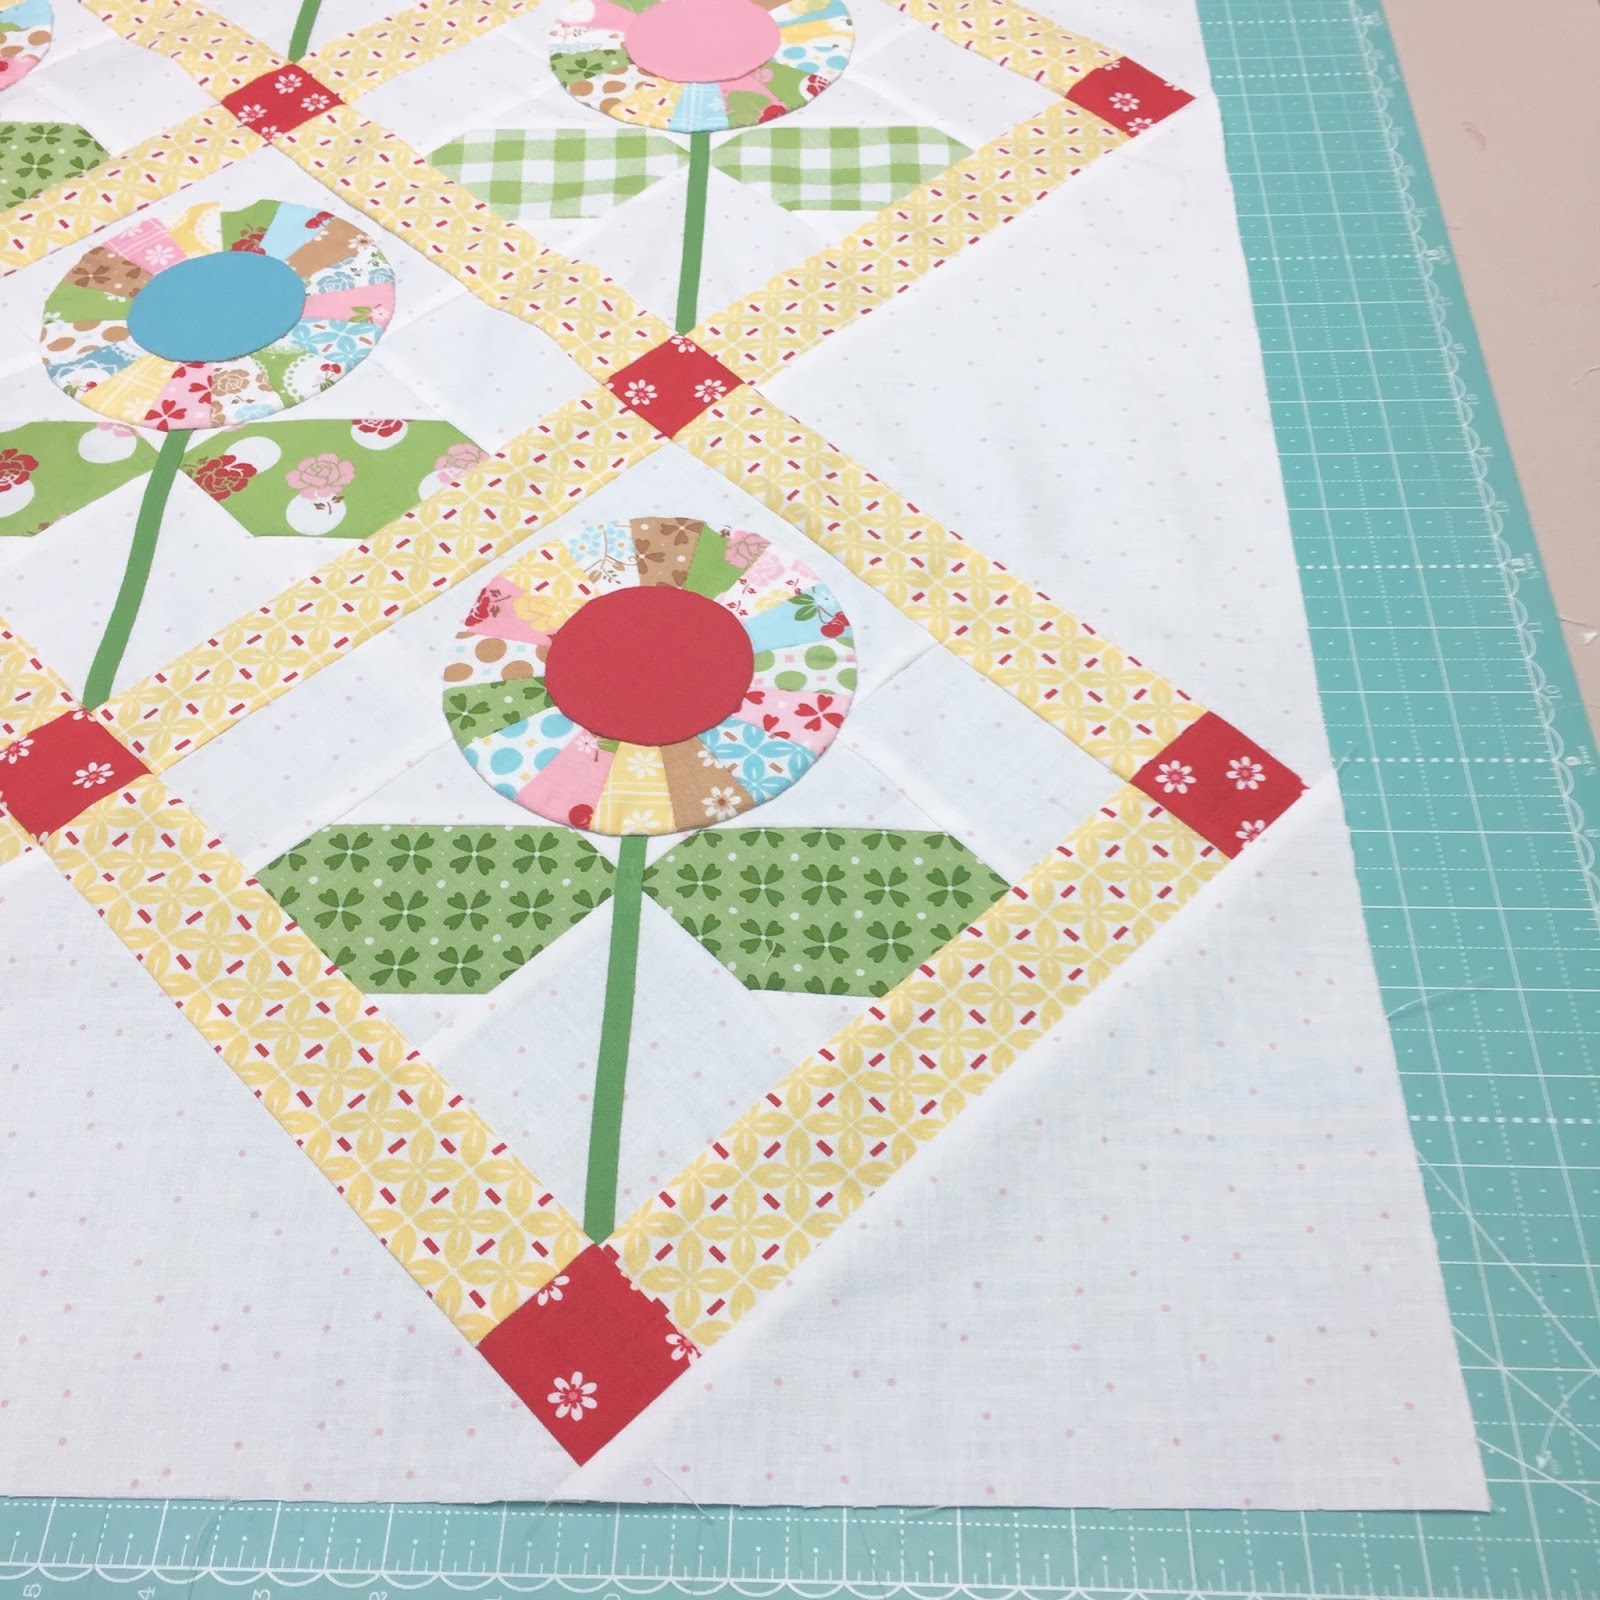
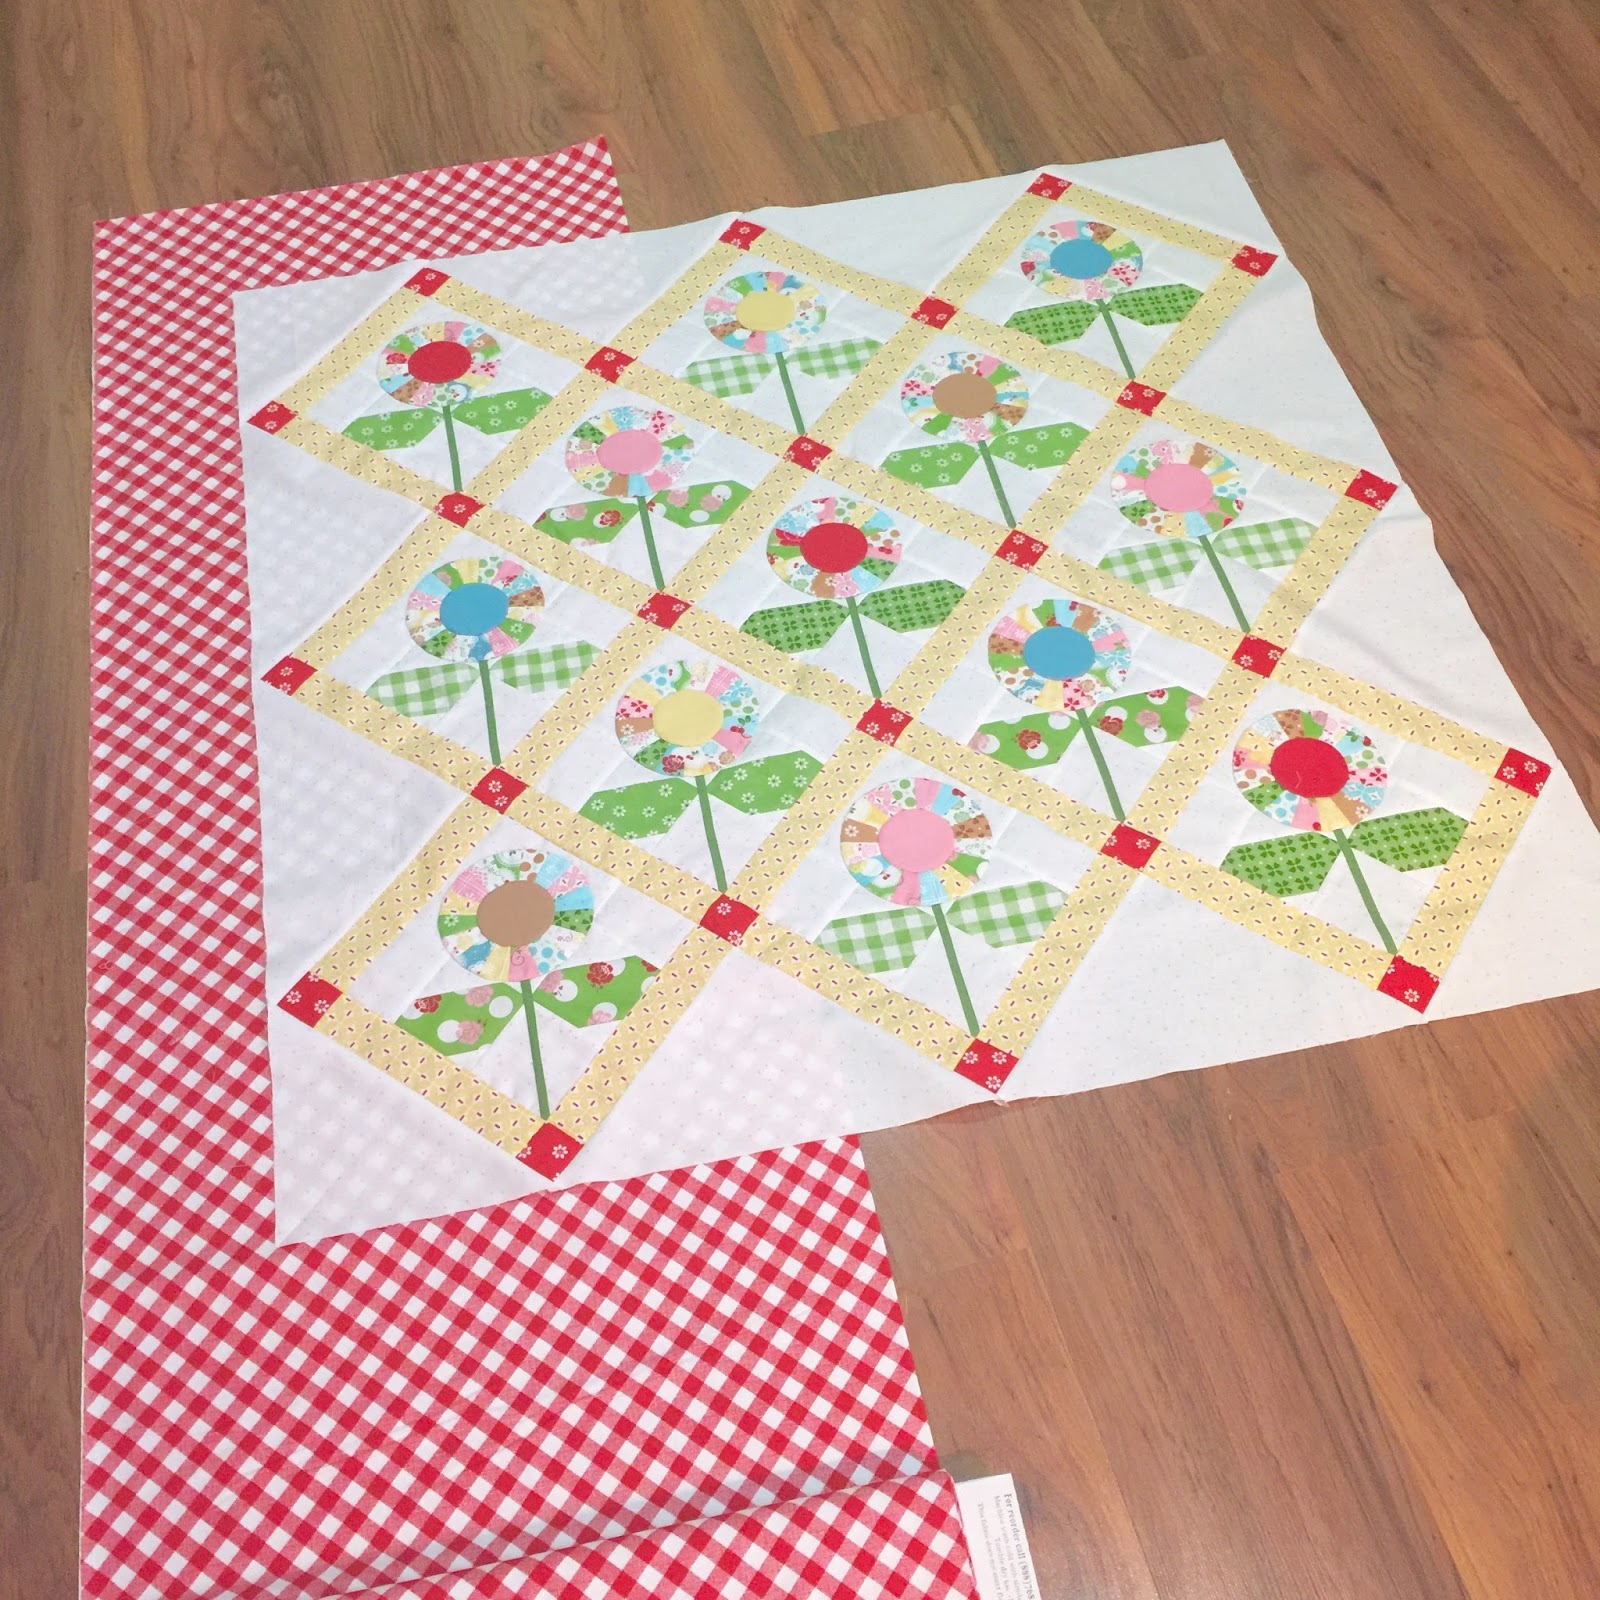
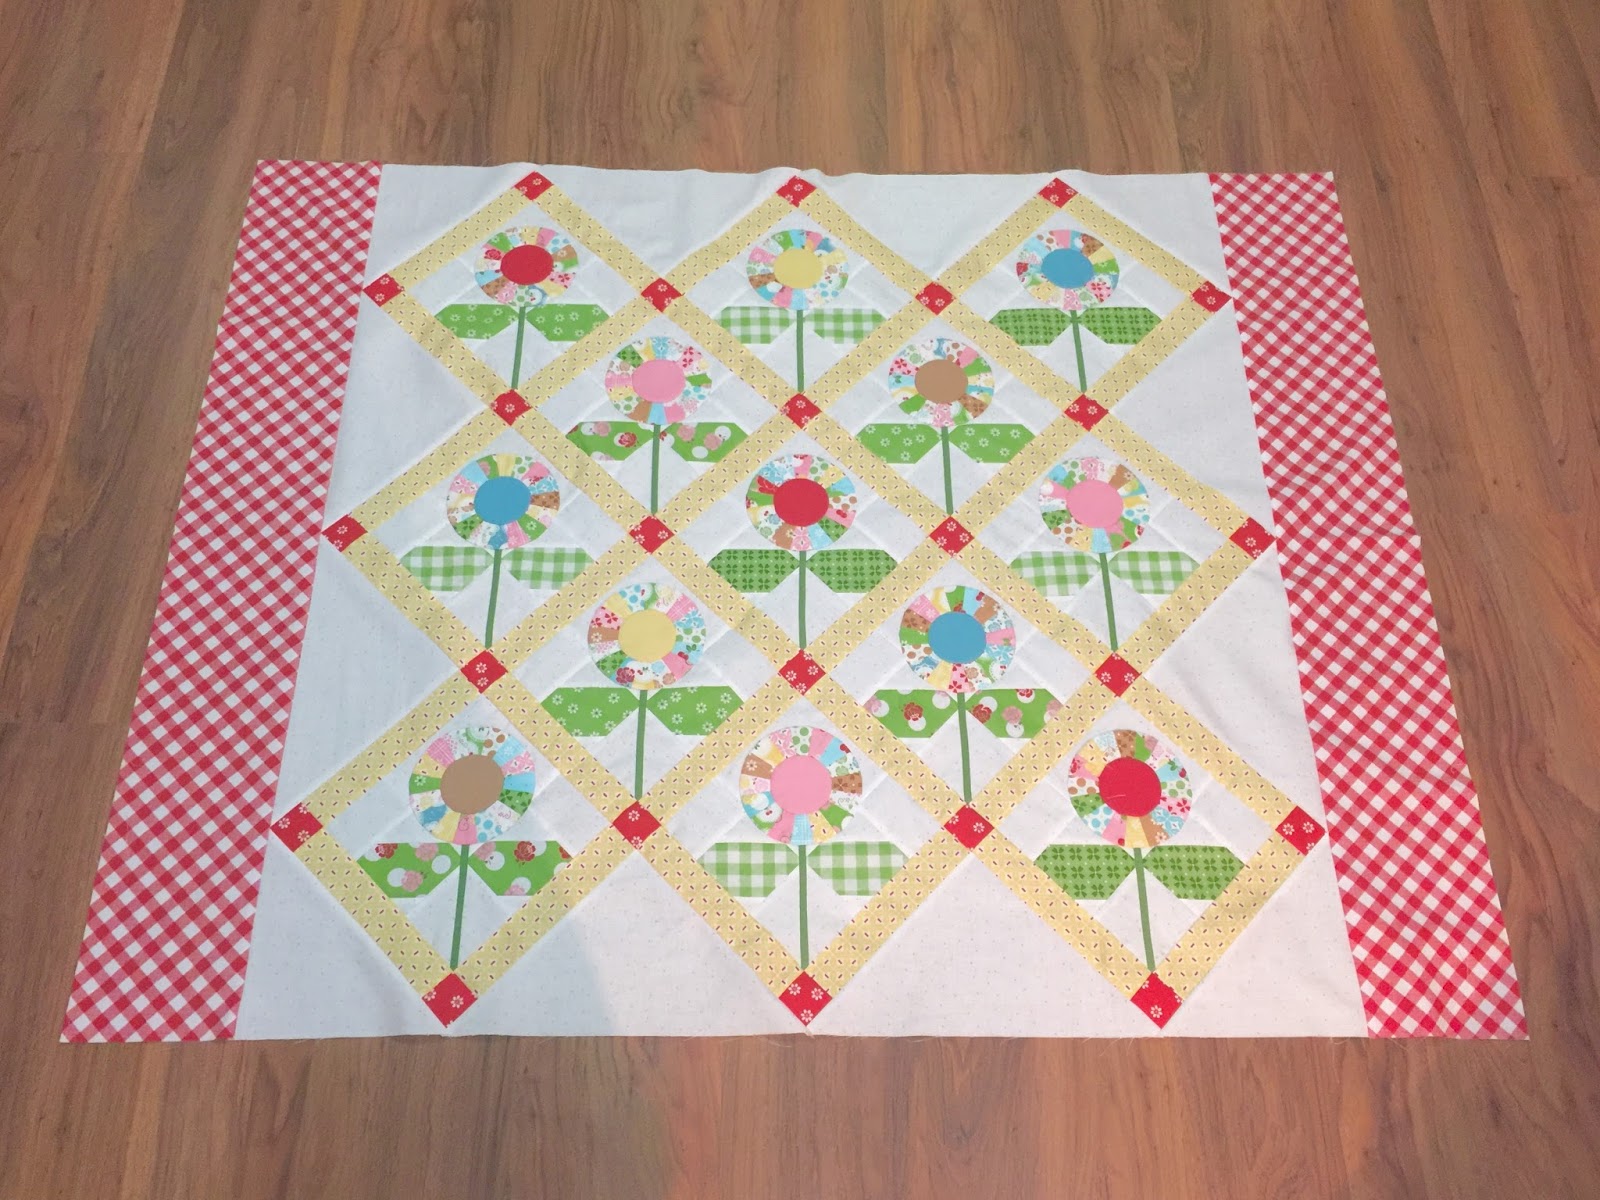
This is my Bee Happy Quilt
that
we will be making
during the sew along.
I designed it to use
all 3 of my new collections
that will be shipping to
quilt shops everywhere this June!

First up...all about
Bee Basics

There are 31 prints total
in this collection.
I have used all my
happy colors!
I created this collection
with a mix of
vintage and modern ...
my favorite:)
In the photo above you sew
30 of the prints...

And here is 31!
This fabric is made up of
two color ginghams:)
I'm excited to sew up
some fun projects with this print...
pillowcases...bags...curtains ...etc.
You know that I love gingham
and I super love this print:)

Next up is about my
Bee Backgrounds
I have always been obsessed
with finding the perfect background
for every quilt that I
make and I especially love
mixing a lot of backgrounds
into one quilt.
That always adds the
perfect vintage flair:)
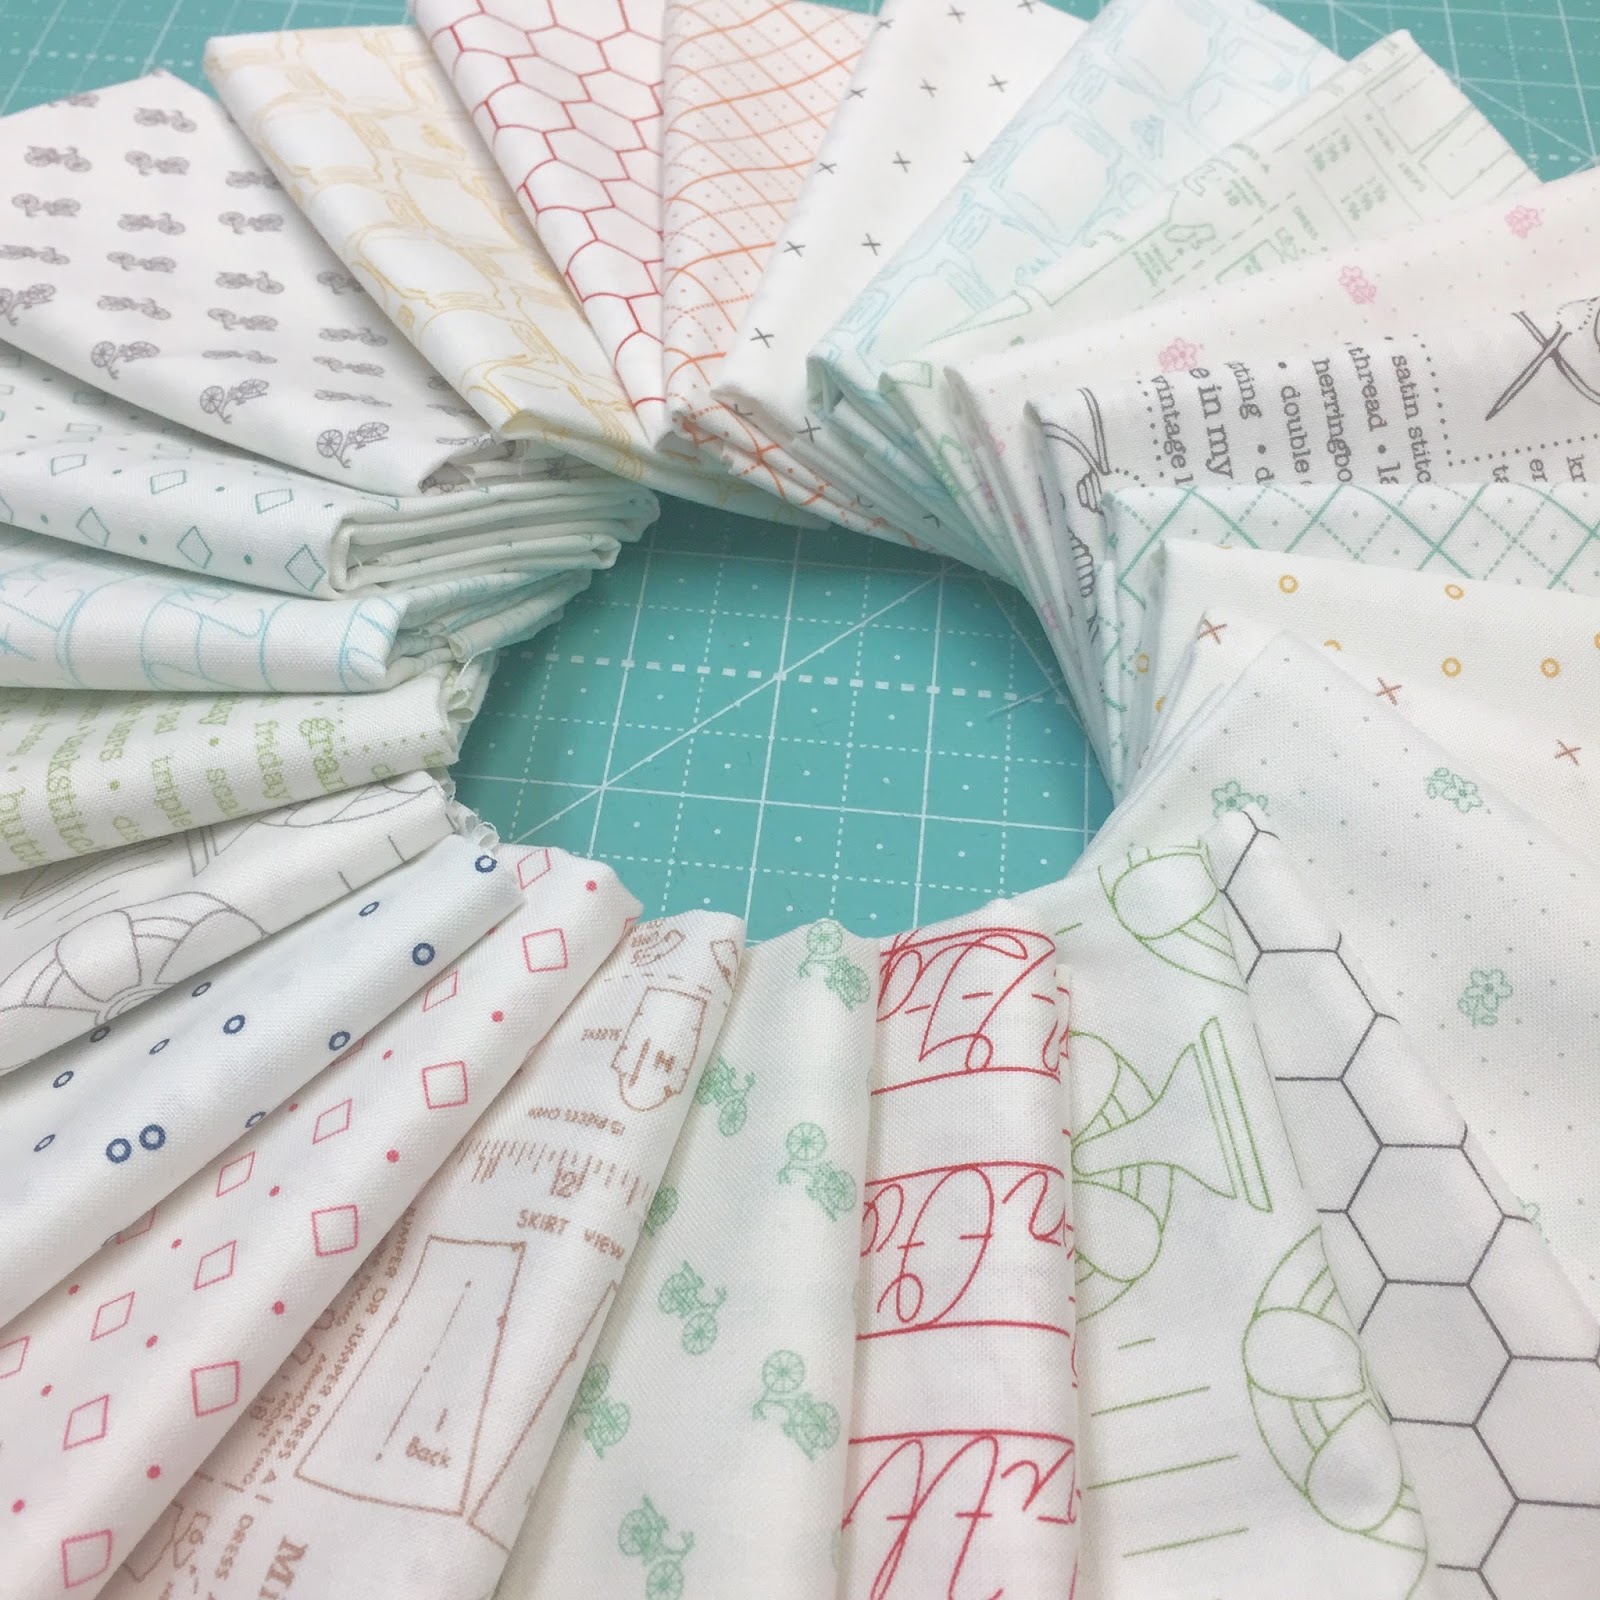
So I did an
entire collection of
24 backgrounds!
In this collection...
I also did a sweet mix of
vintage and modern
style together:)

I also added this
gingham on white print
to my Bee Backgrounds collection:)
This one says aprons...bed ruffles...
pillowcases and or
sewing room or kitchen curtains!

The third collection is my
Bee Backings and Borders

There are 12 prints total
in this collection
and all are 108" wide.
Yes...
I said 108" wide!
YaY!
It will be so nice to
have wide fabrics
for quilt backings and
borders without seams:)
I'll be using them
for bindings too
and best of all...
for piecing blocks!

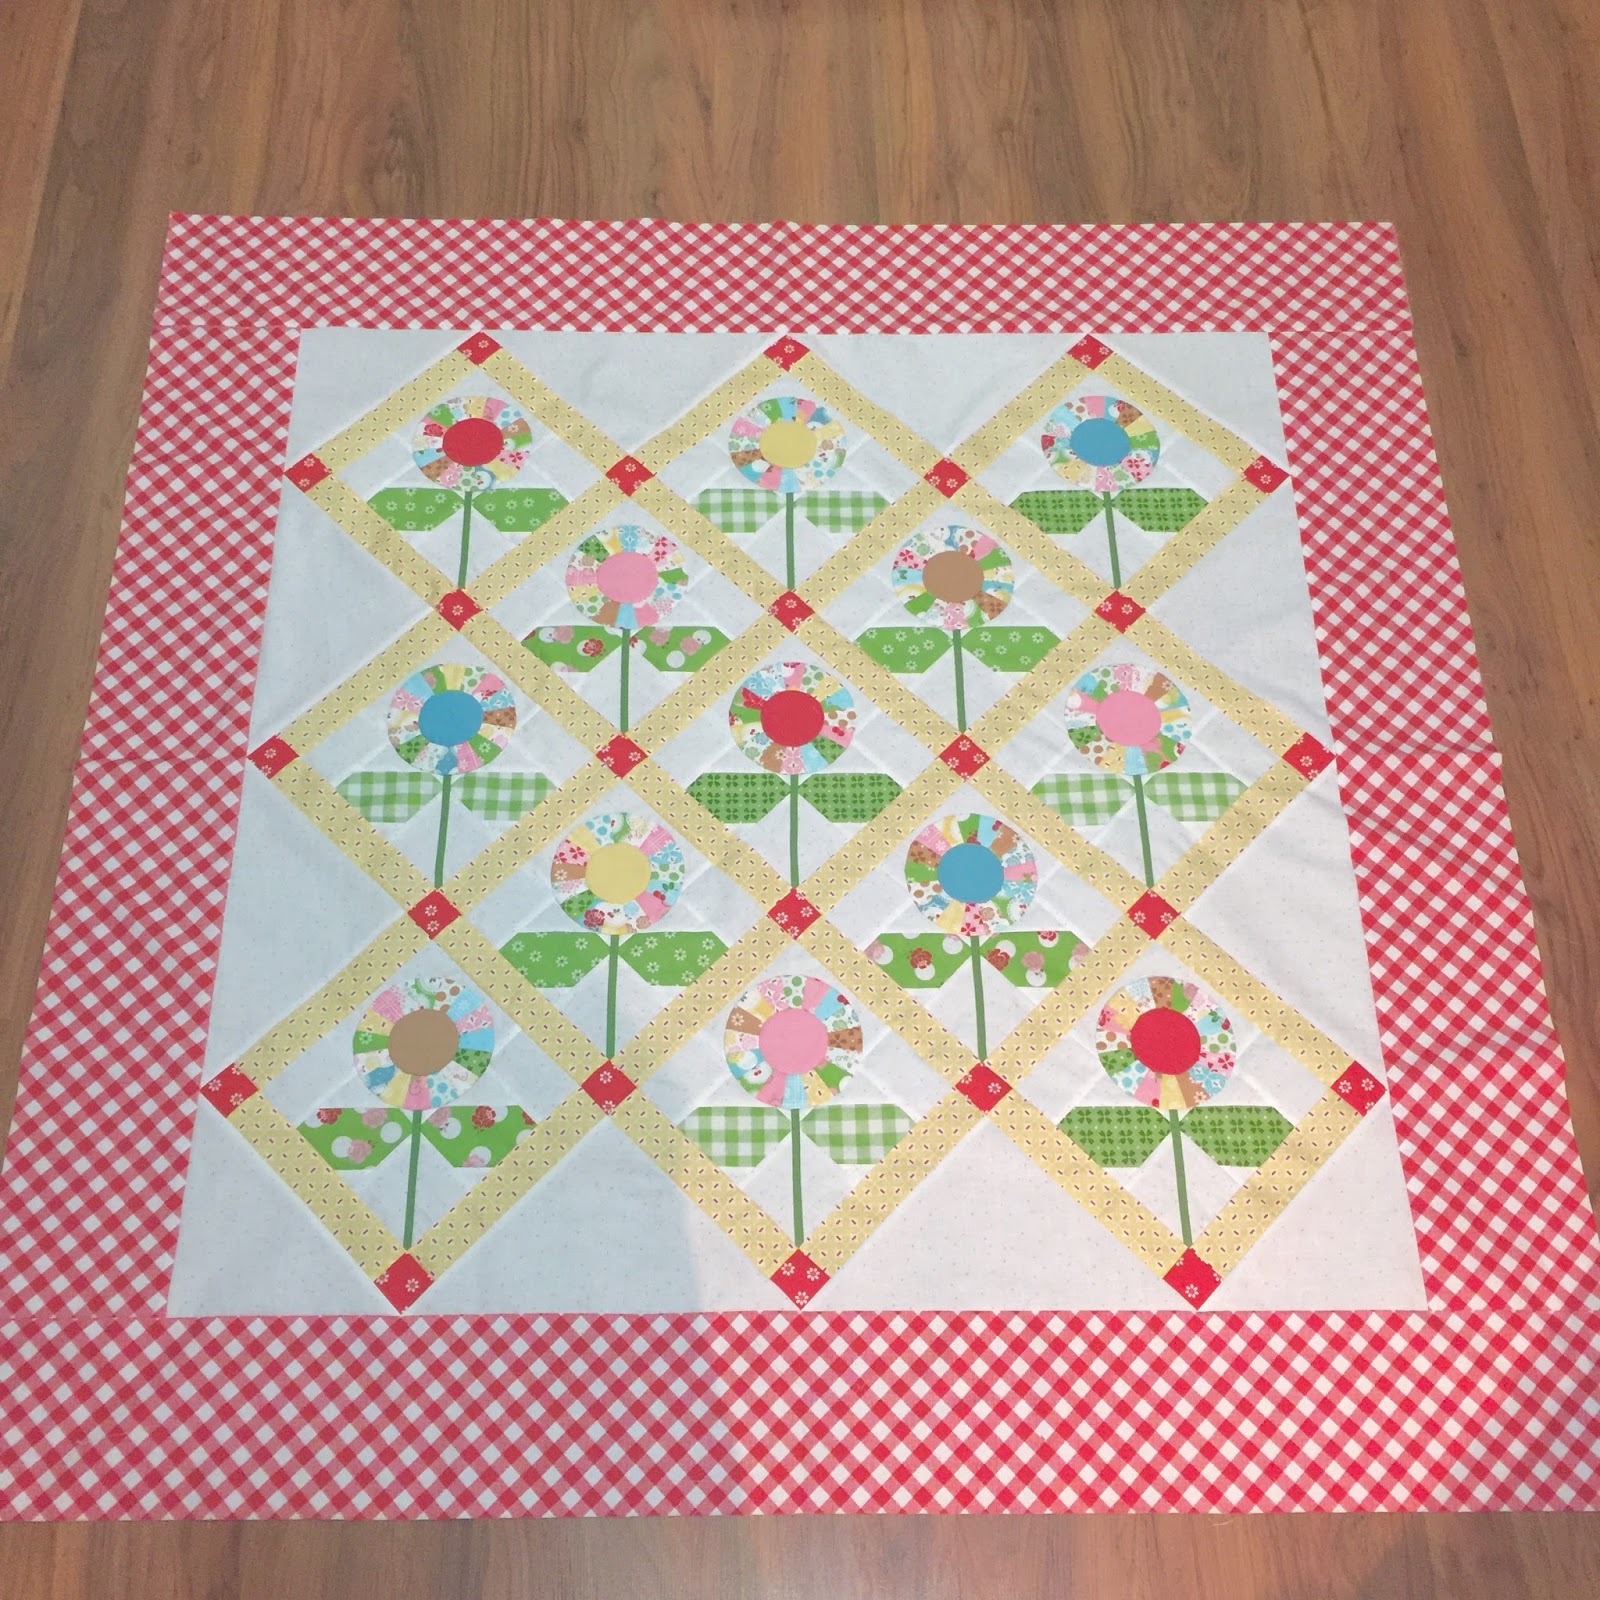
Here you sew
all three collections together...
ready for me to make the
Bee Happy Quilt
so that it can be displayed in the
Riley Blake Designs booth at
Spring Quilt Market next month.

If you are going to market...
stop by the booth to see it!!!
Sew Along Info
For those of you who are new and
will be joining us for the
Bee Happy Sew Along...
here is the information
that you need to know at this point.
The sew along will
work like all of my others...
it will take place
here on my blog
starting in August.
There is no "official" sign up list.
You simply follow my blog and
tune in every Monday to see the block tutorials and instructions
for that week.
Typically those who are
doing the quilt
post about it on
or their blogs and
show their blocks
and progress along the way.
It's super fun and a
great way to meet others
as well as awesome
quilty inspiration:)
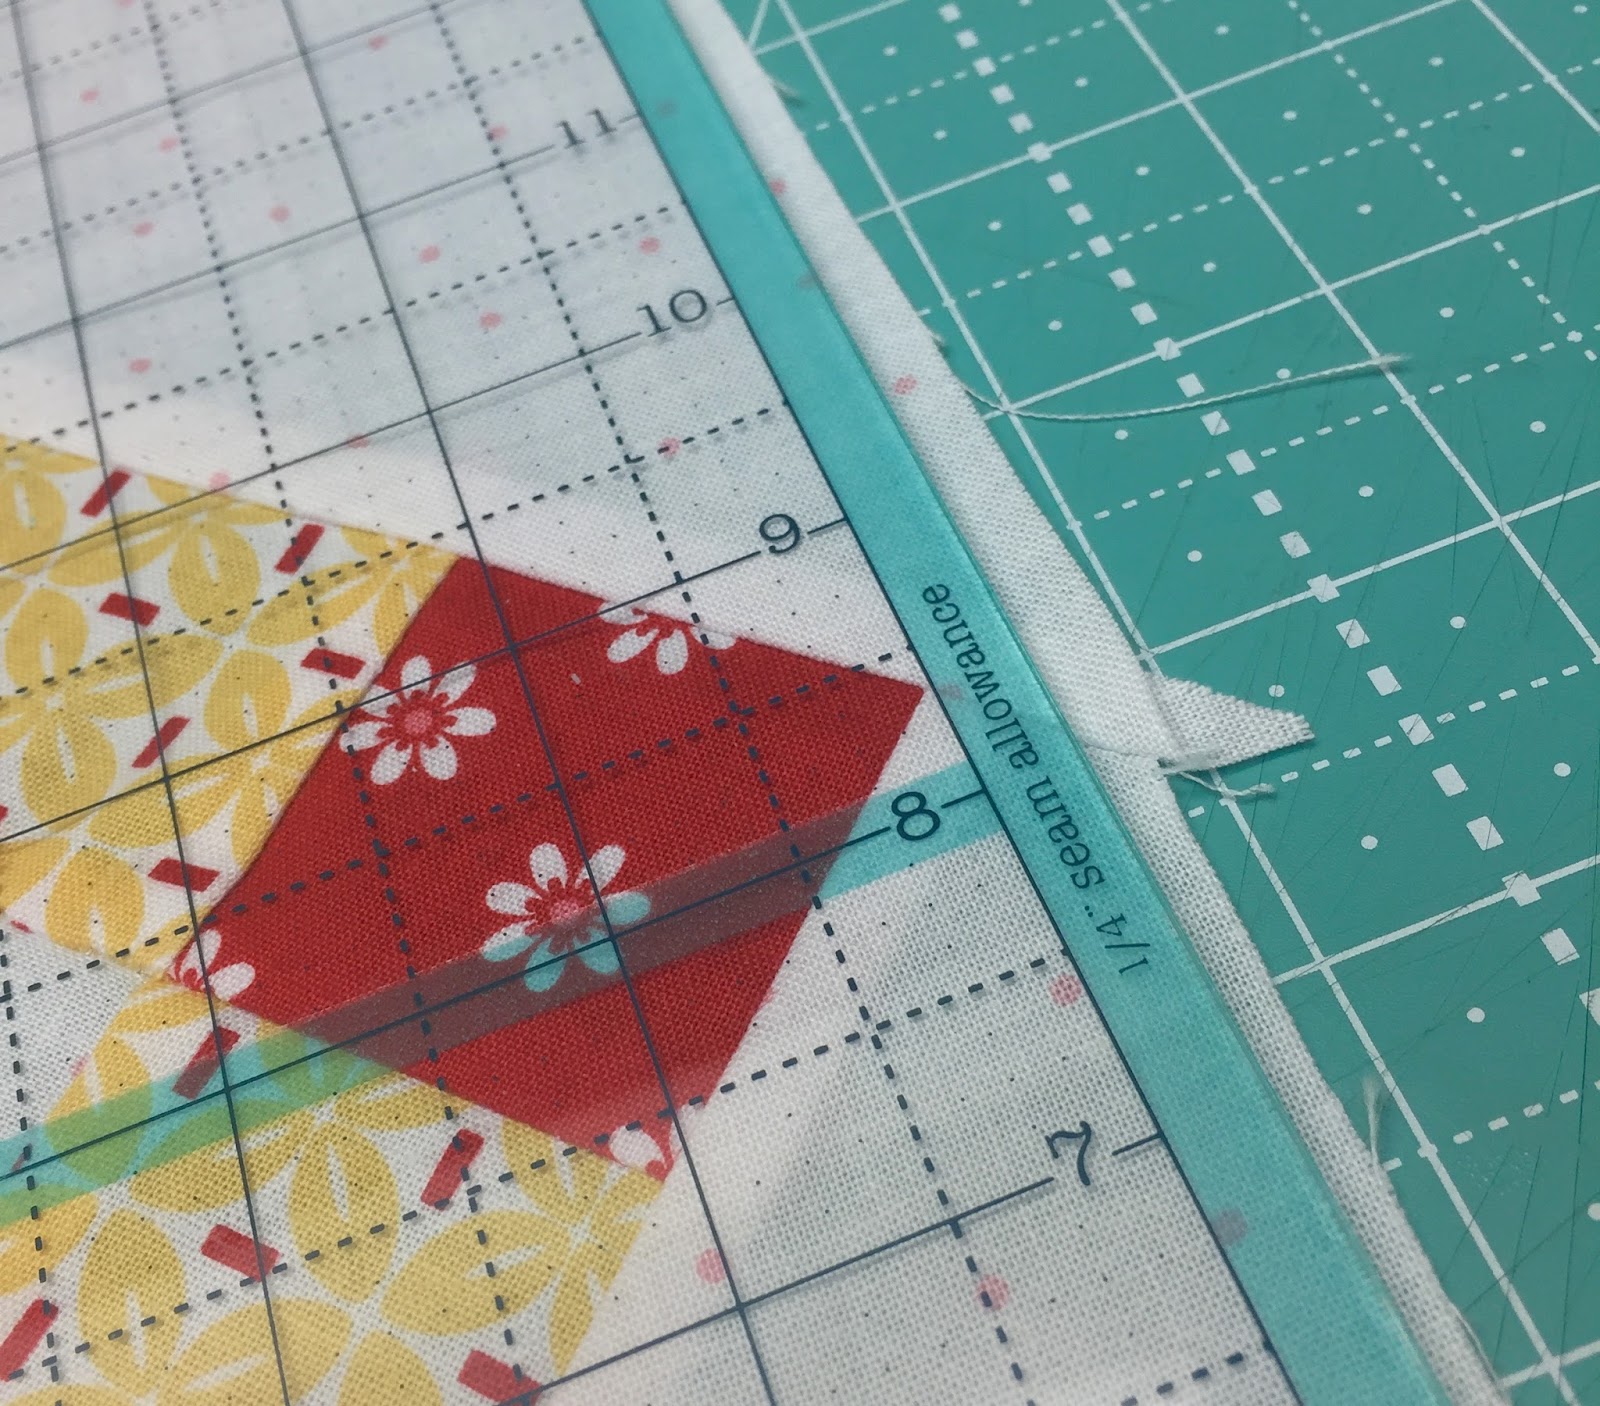
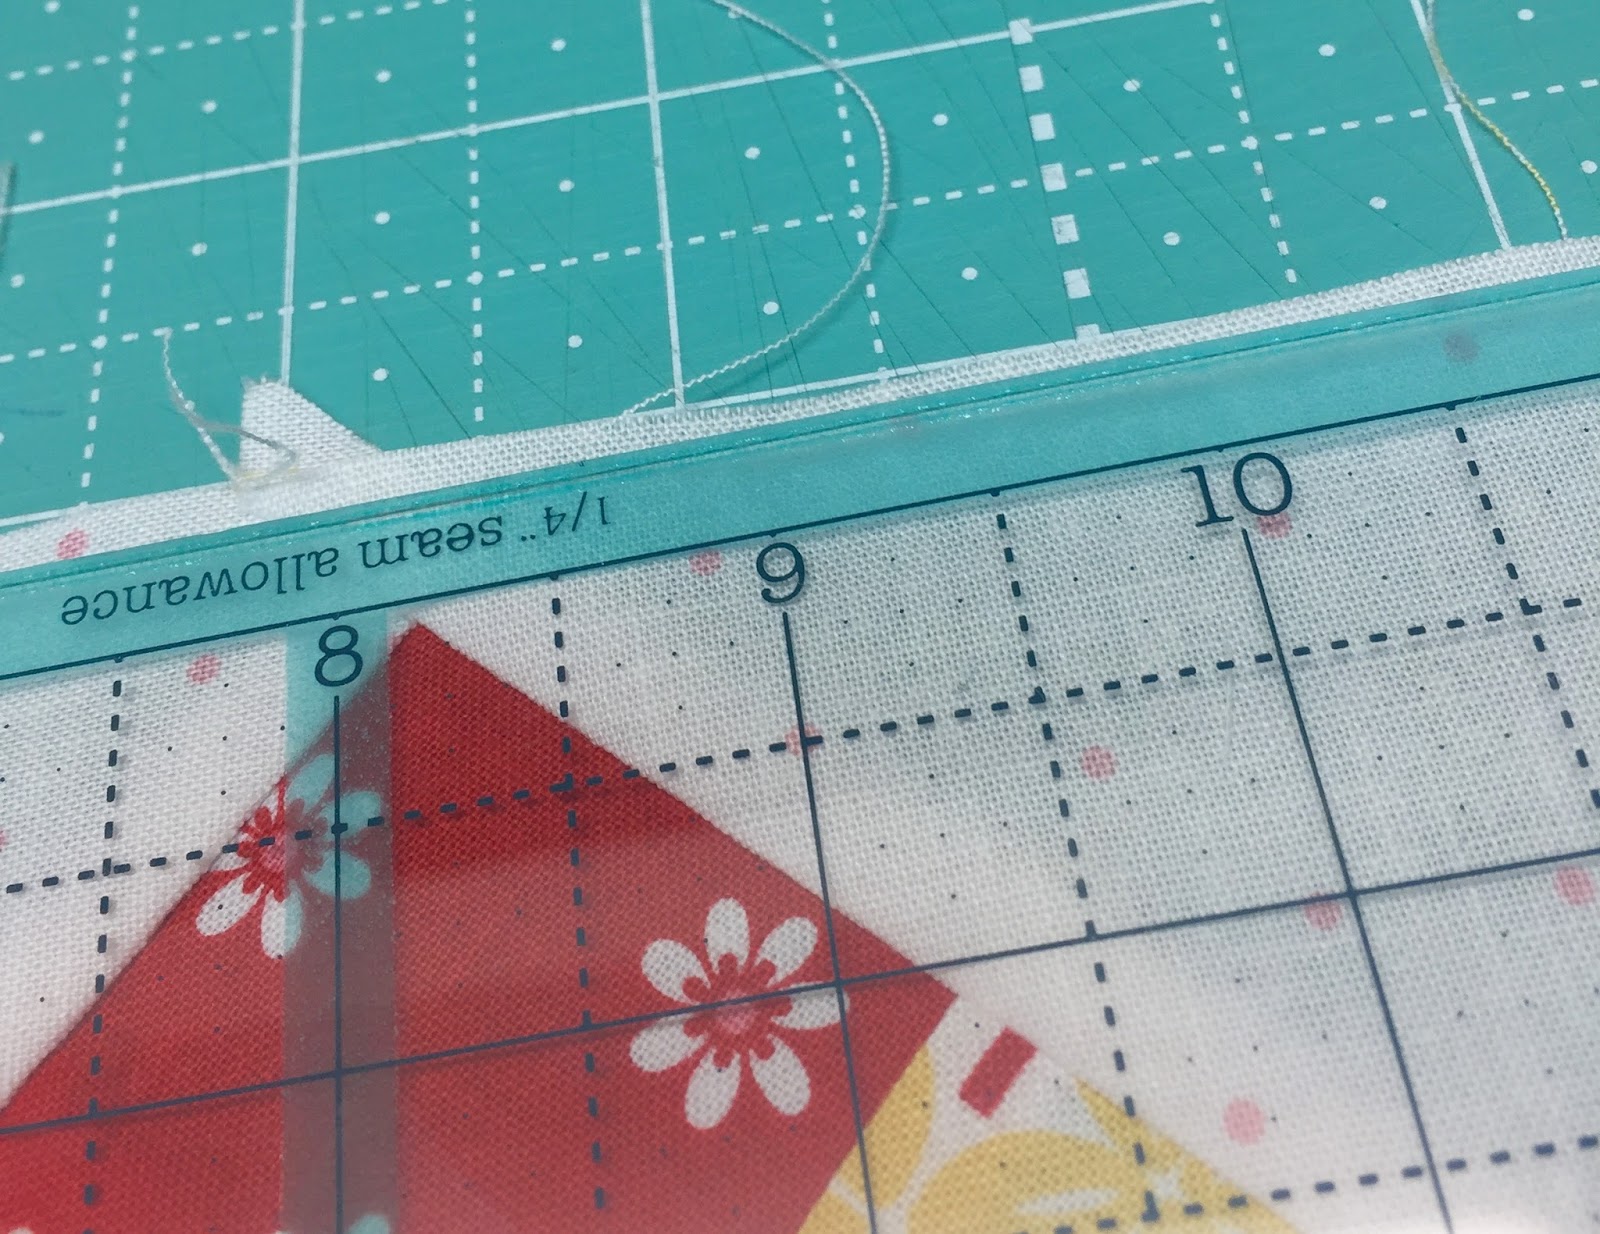
I always have a tutorial
for each and every block
and will have
complete and detailed
cutting instruction
for each and every
piece of fabric in the kit
so that you can
"Bee Prepared"
when the time comes:)
You can pre-order/purchase
a kit for the
Bee Happy quilt
from your favorite
local or online quilt shop.
Just ask them if they
will be participating.
If you can't find a kit...
no worries!
Simply get on
Instagram and ask
if anyone knows where you
can find a source.
Chances are...that will help!
The Bee Happy Sew Along Guide
will be a
free download
for those who are participating.
It will not be available
until the first of August when
we are closer to the sew along.

There is a new set of
to make the quilt.
As the time gets closer...
(on August 1st)
as usual I will do
a blog post with a
complete list of supplies
needed for the quilt.
You will always find
all of the info needed
right here on my blog:)

I really cannot even say
how excited I am about
finally doing this quilt!
When designing it..
I tried to fit in
as many things as I could
that represents me
and what makes me happy...
in hopes that you find things
in my quilt that
make you happy too!
xx
Lori


