
Hello there quilty friends!
I just know that ya'll have
leftover fabric strips.
Am I right?!
They are just waiting to become
super cute Scrappy String Blocks...
so I'm going to show you how I make them!
I love creating wonderfully
scrappy blocks and quilts from my stash.
As a girl...
I learned from my grandma
and her sisters(my great aunts)
lots of good ways to use up
bits of leftover fabrics...
and making string quilts
were one of those ways!

I've done several scrappy blog posts and tutorials over the years.
All about how I buy fabric...
store and organize my leftovers...
and more importantly...
how I actually USE my scrappy stash.

I have it ALL documented in
step by step detail inside the
"Tips and Organizing"
section of my

It's important to be organized
with our quilty stash
because then we know what we have...
where it is... and can easily get to it
and make scrappy happy projects:)
YaY!

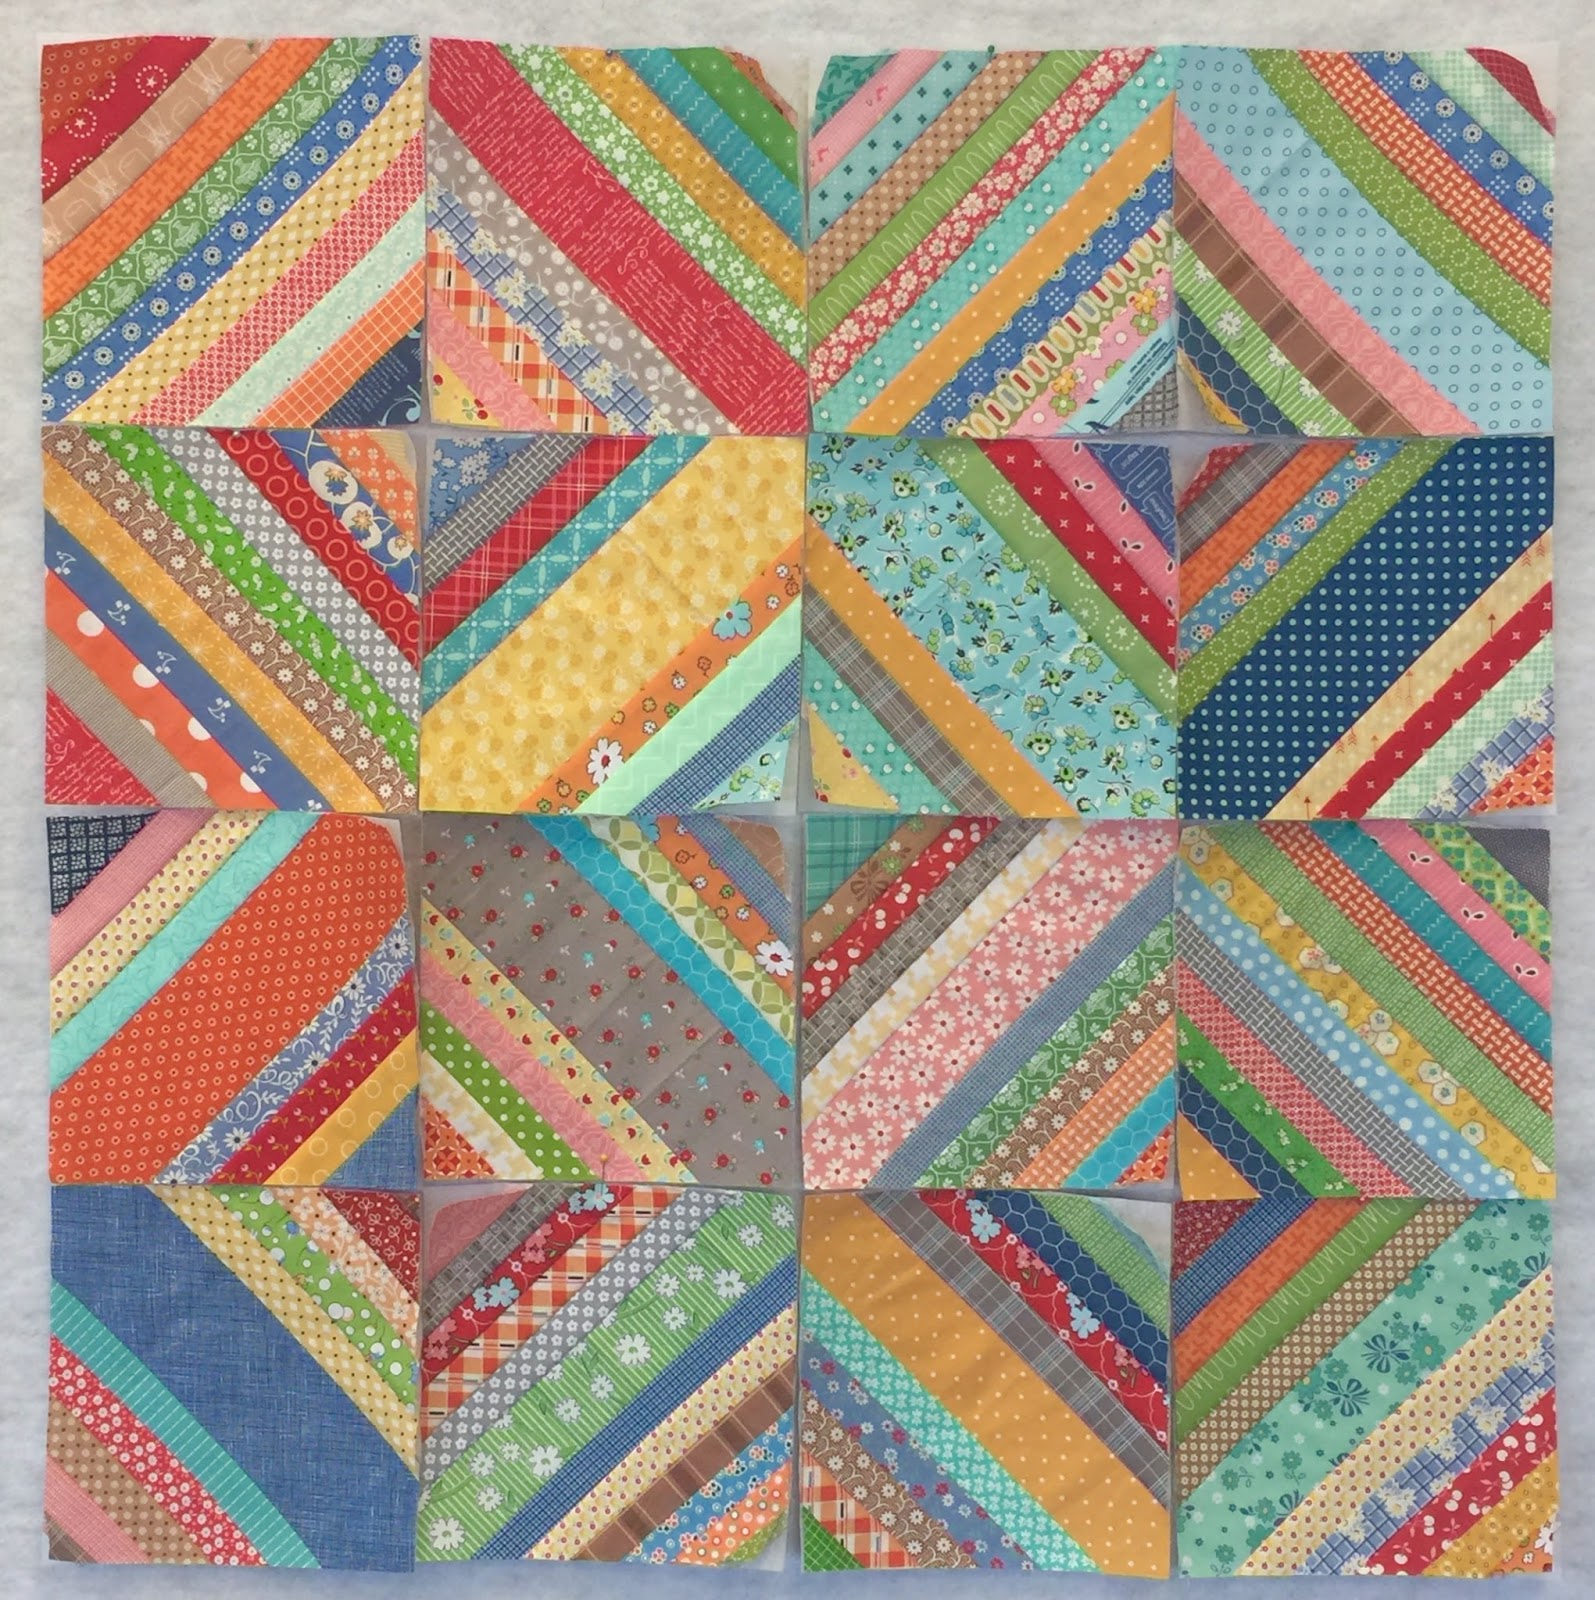
Here are 16 of my
Scrappy String Blocks
on the design wall.
I will be making many more
for this quilt...
not sure exactly how many yet.
These blocks are not sewn together...
and this is only one possible way
to set them together.
Although over the years
I have made a total of
3 string quilts and have set
all of them this way.

***SCRAPPY STRING BLOCKS***
1. Super easy to make.
2. Use leftover fabric strips.
3. Scrappy Happy:)
4. Addicting.
5. Super cute!
Let's get started:)

The first thing that you need to make my
Scrappy String Blocks:
for the foundation.

Cut - 9" x 9" squares...
ONE for each block.
Each package will make 24 blocks:)

For this block I started with a
2 1/2" wide strip
that I grabbed from my
2 1/2" scrappy strips basket.
I lay it face up on top of the
interfacing on the diagonal like this.

Make sure to center it.
I cut off what's leftover from the
strip end and put it back
into my basket to use another time:)

Pin it onto the interfacing like this.

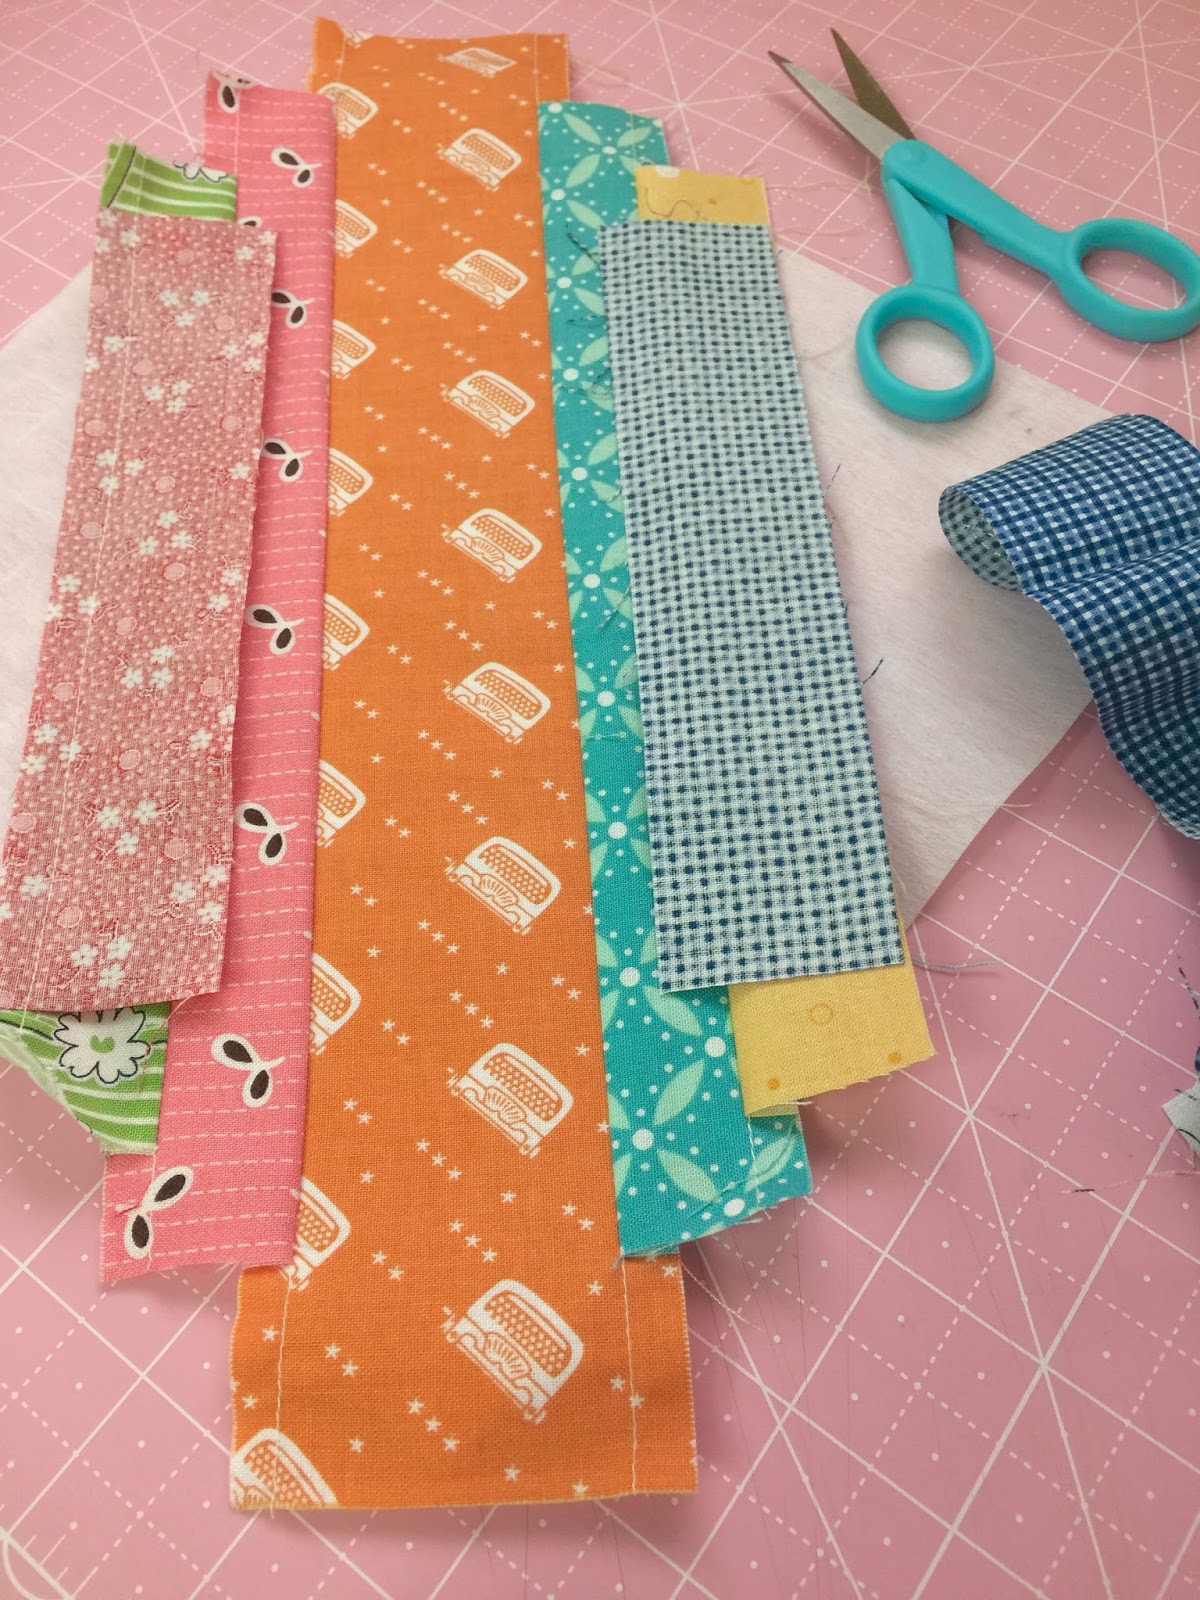
Grab a 1 1/2" wide strip
(or however wide you want)
and lay it onto the right side
of the center strip...
with the edges aligned like this.
Each end of each and every strip
should be about 1/4" longer
than the interfacing.
Trim off the bottom end before sewing:)

Sew the strips together going
through the interfacing too:)
Remove the 3 pins -
(I only pin the center "starter" strip)
and add a strip to the
other side in the same way.

Press those seams towards the
outside strips and continue adding
a strip onto each side....
trimming the ends and placing them
back into their baskets.
(if you like to stay organized lol)

I use the edge of my presser foot
as a seam allowance guide.
This presser foot is wider than
1/4" so that is how wide my
seam allowances are.

Continue adding new "string strips"...

And to press each "string" away
from the center as you go along.
Keep adding strings
alternately onto both sides:)

When I get to the end I like to
grab my leftover squares basket
and add a square to the corners.
This one is a 2 1/2" square.

Make sure that your square measures
at least 1/4" longer than the
interfacing on both top and bottom.

Another 2 1/2" square for the other side.

Test which size square
to use by folding it over
before sewing to make sure it will
cover the last of the interfacing.

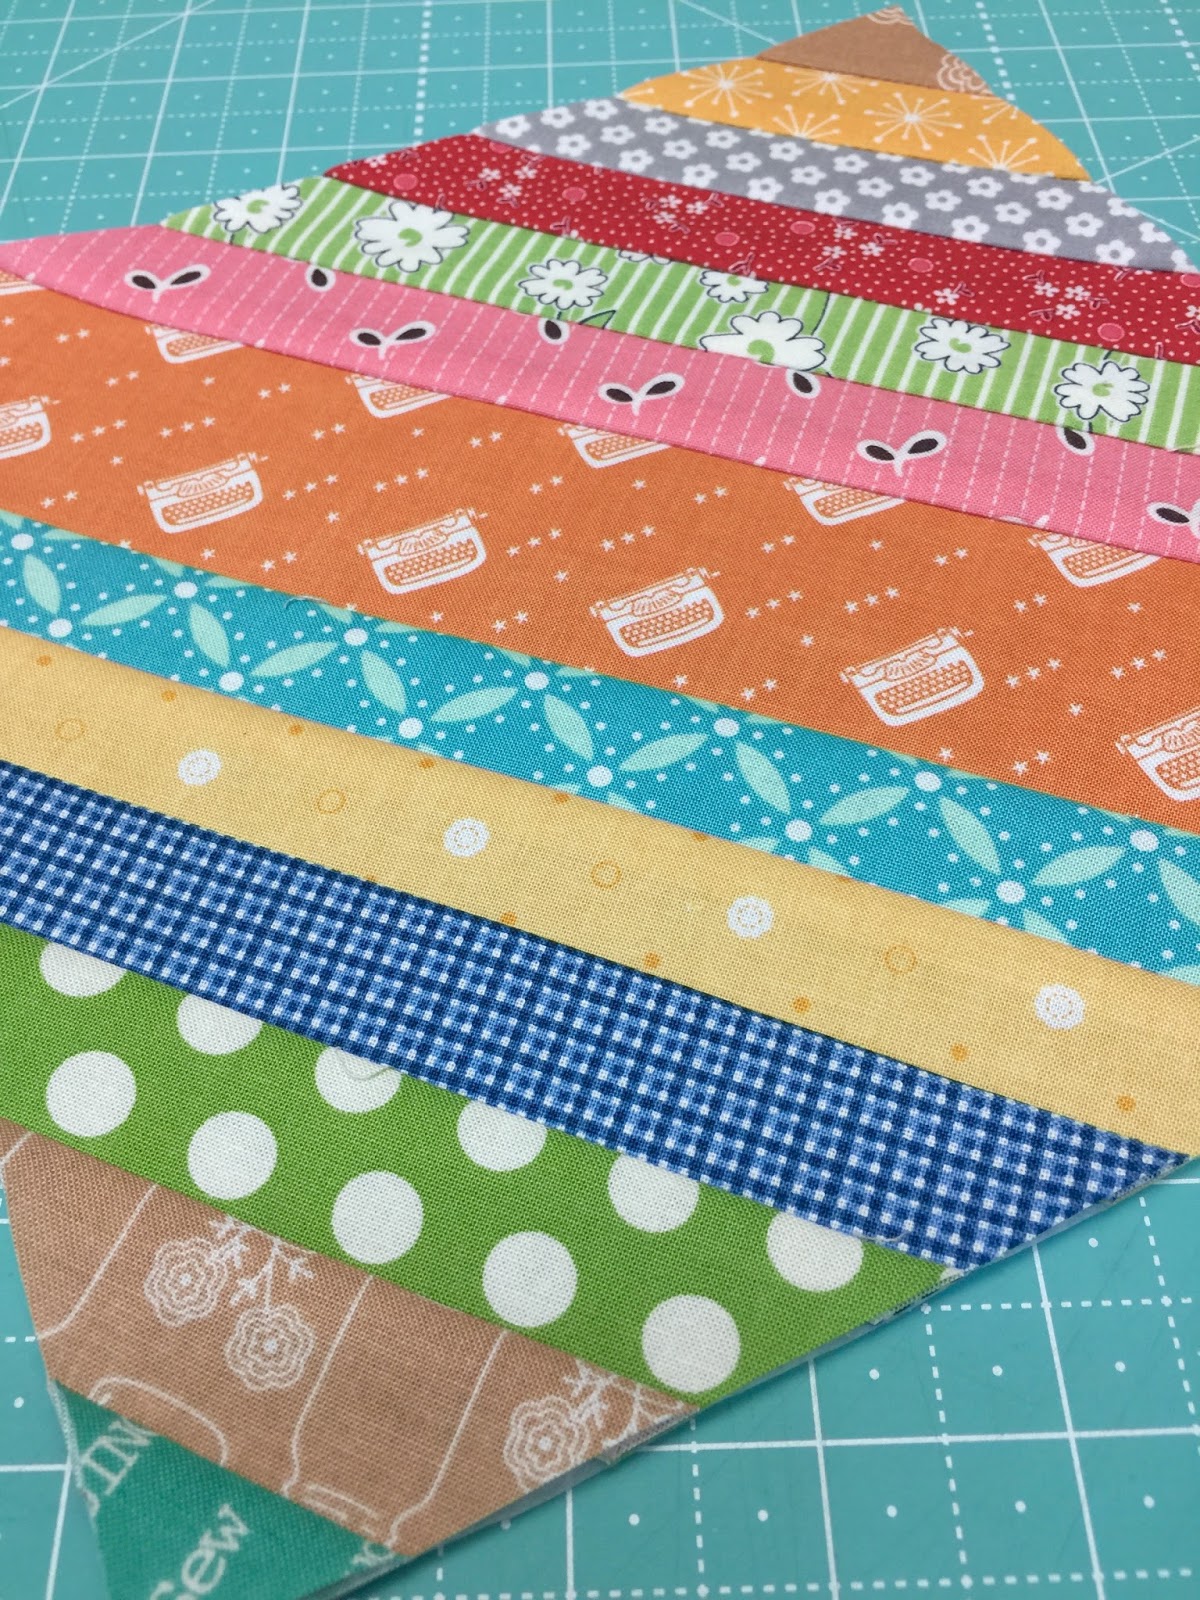
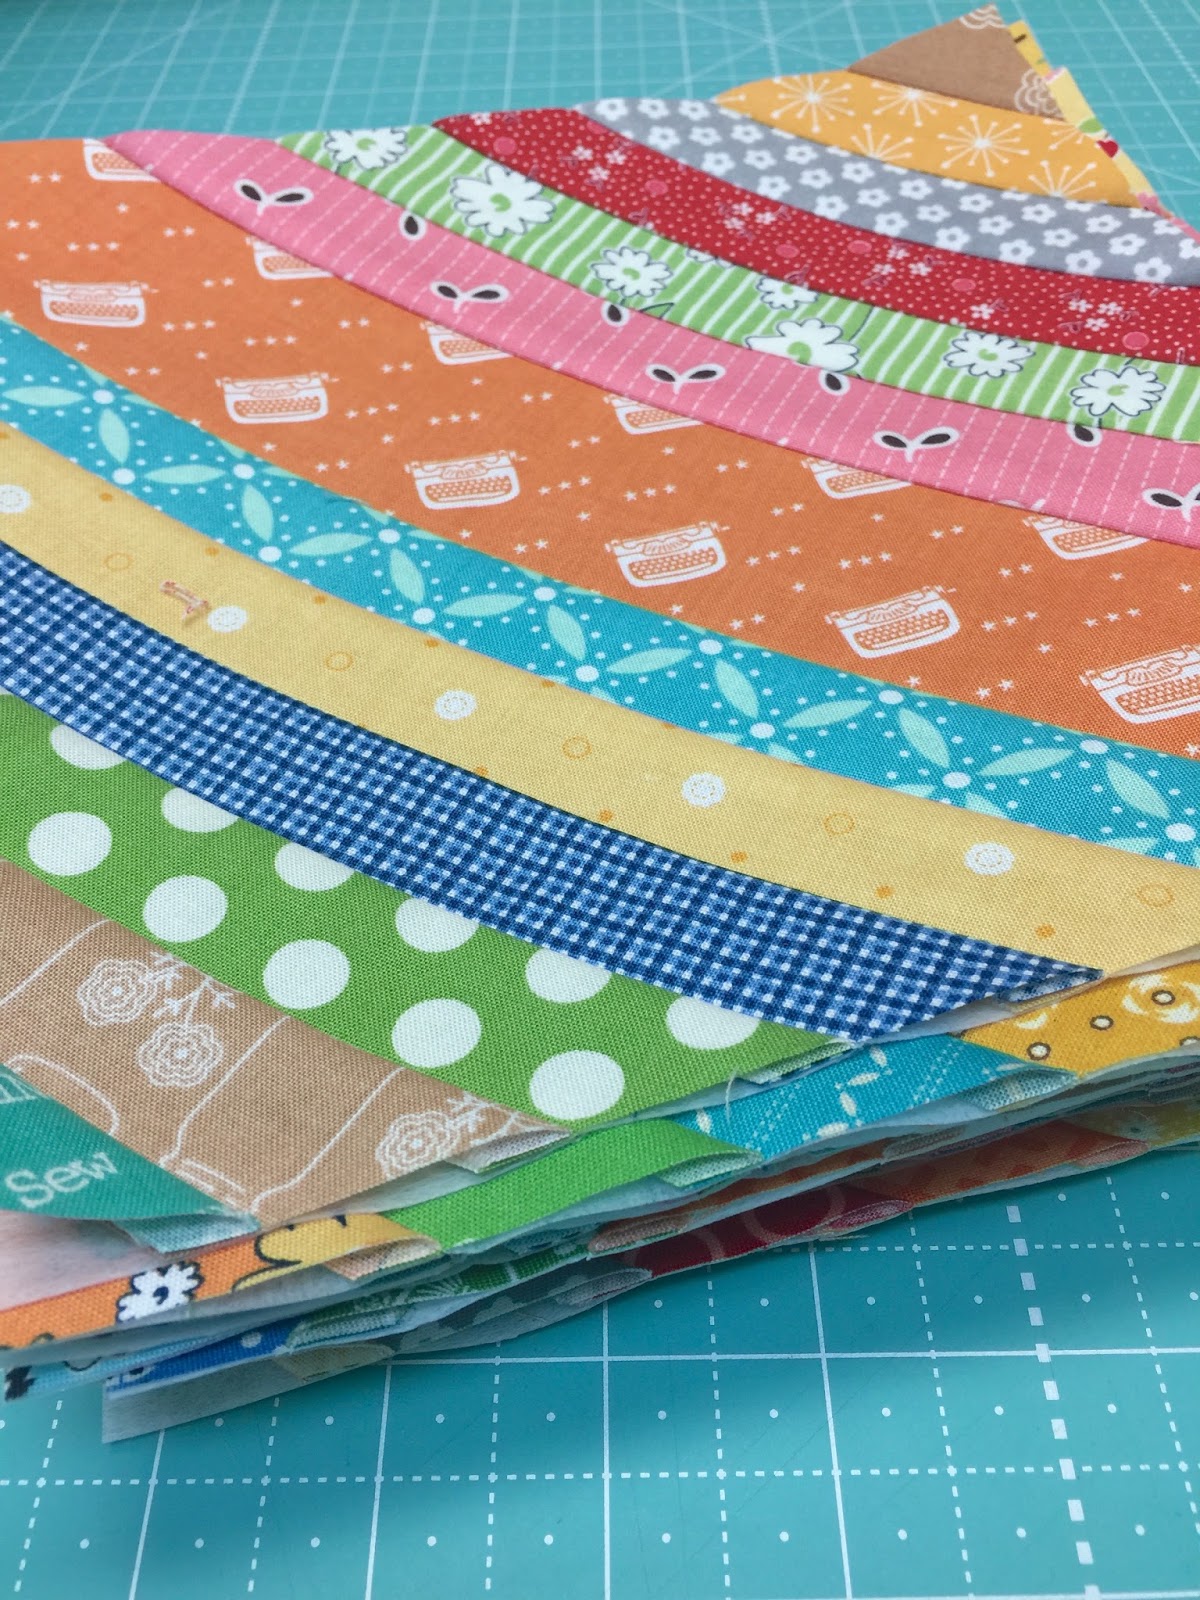
All of my strings are
sewn for this block...
YaY!
I use mostly 1 1/2" wide fabric strips
for my blocks because I have
a lot of them right now
and I need to use them up!

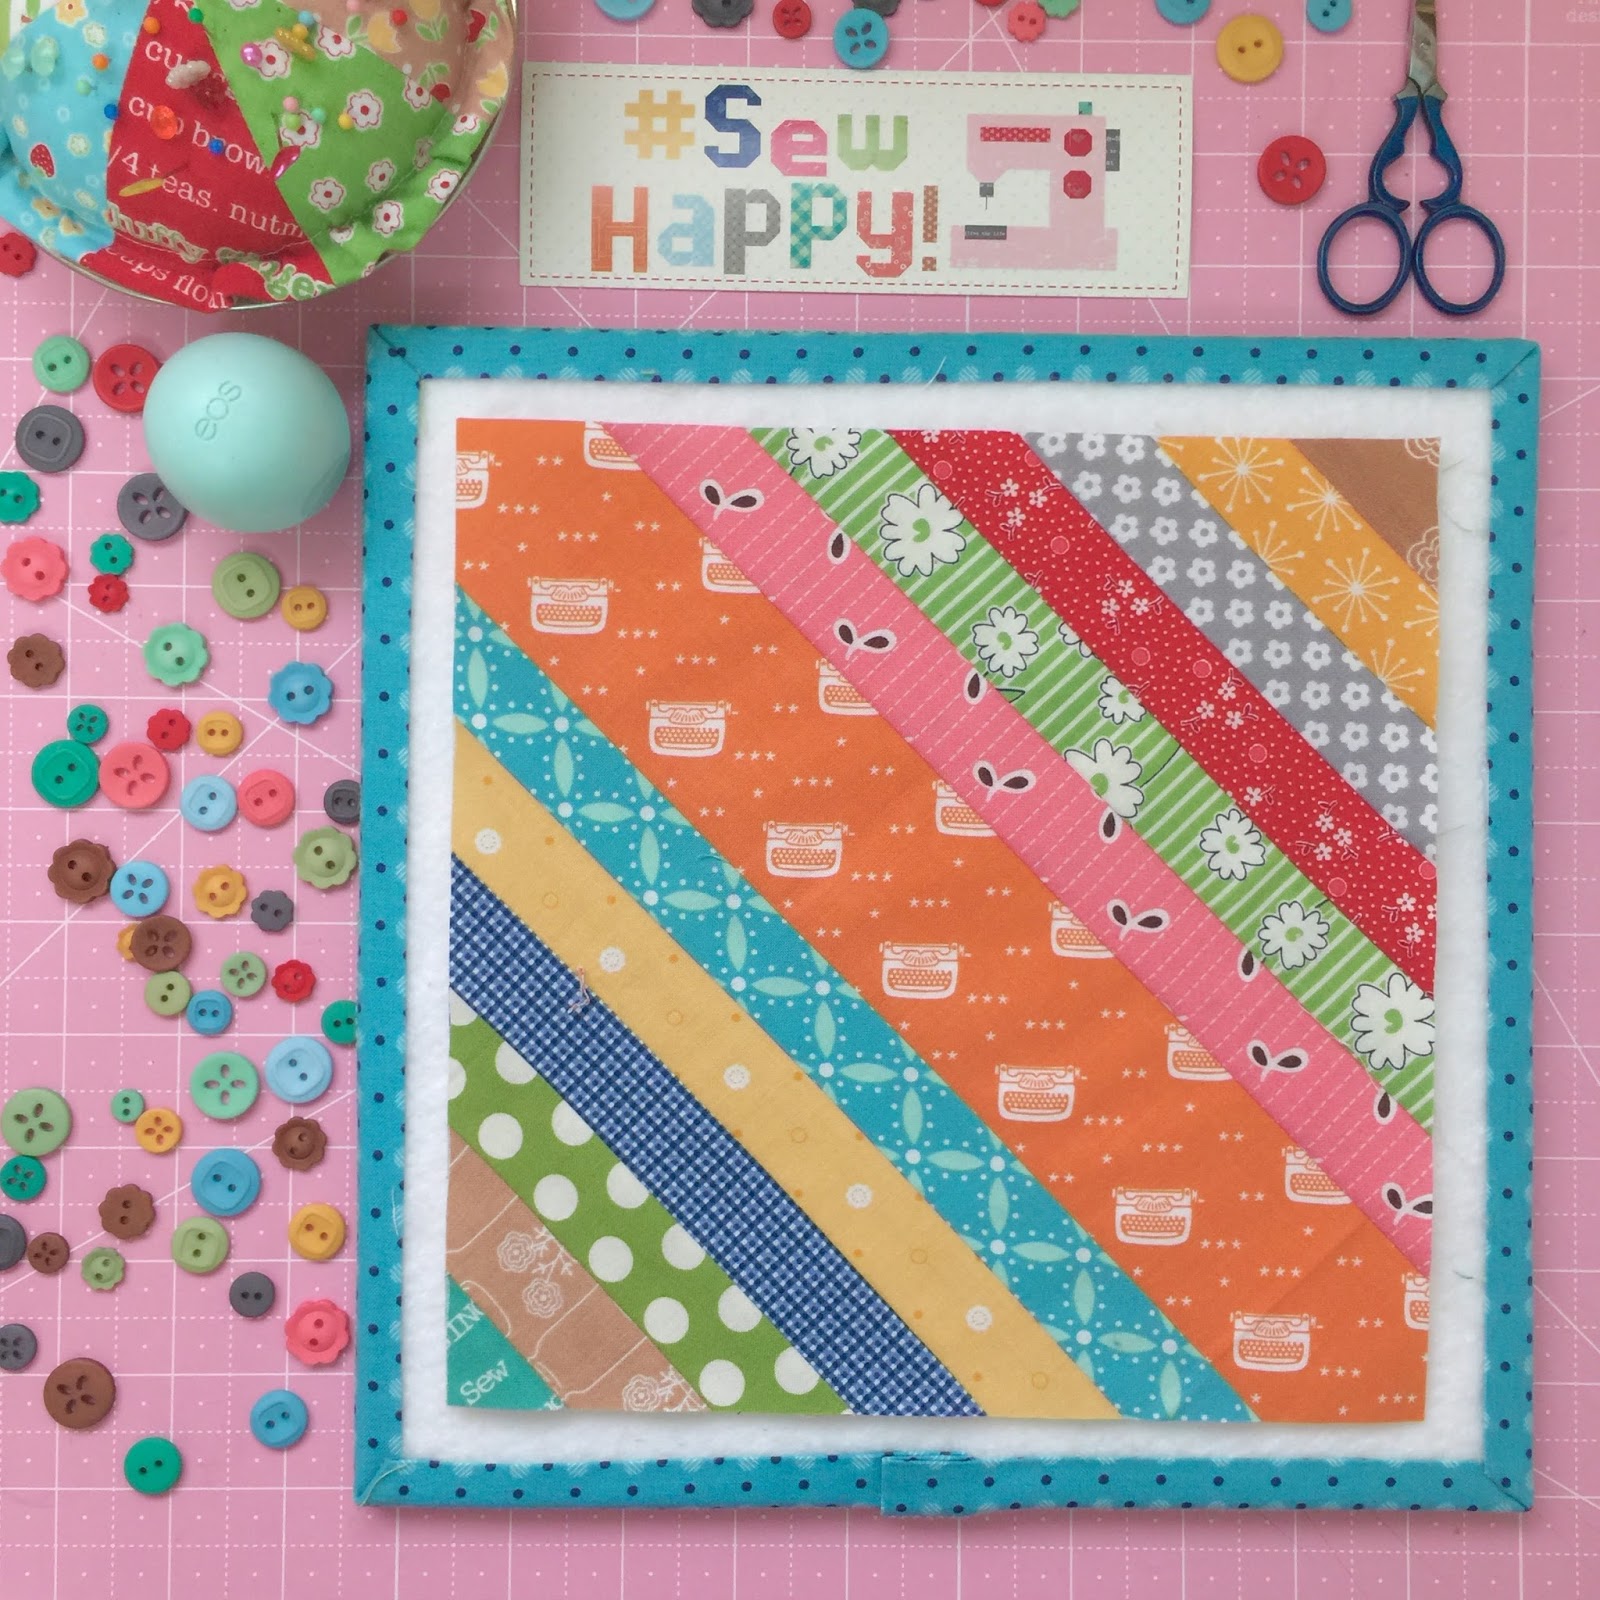
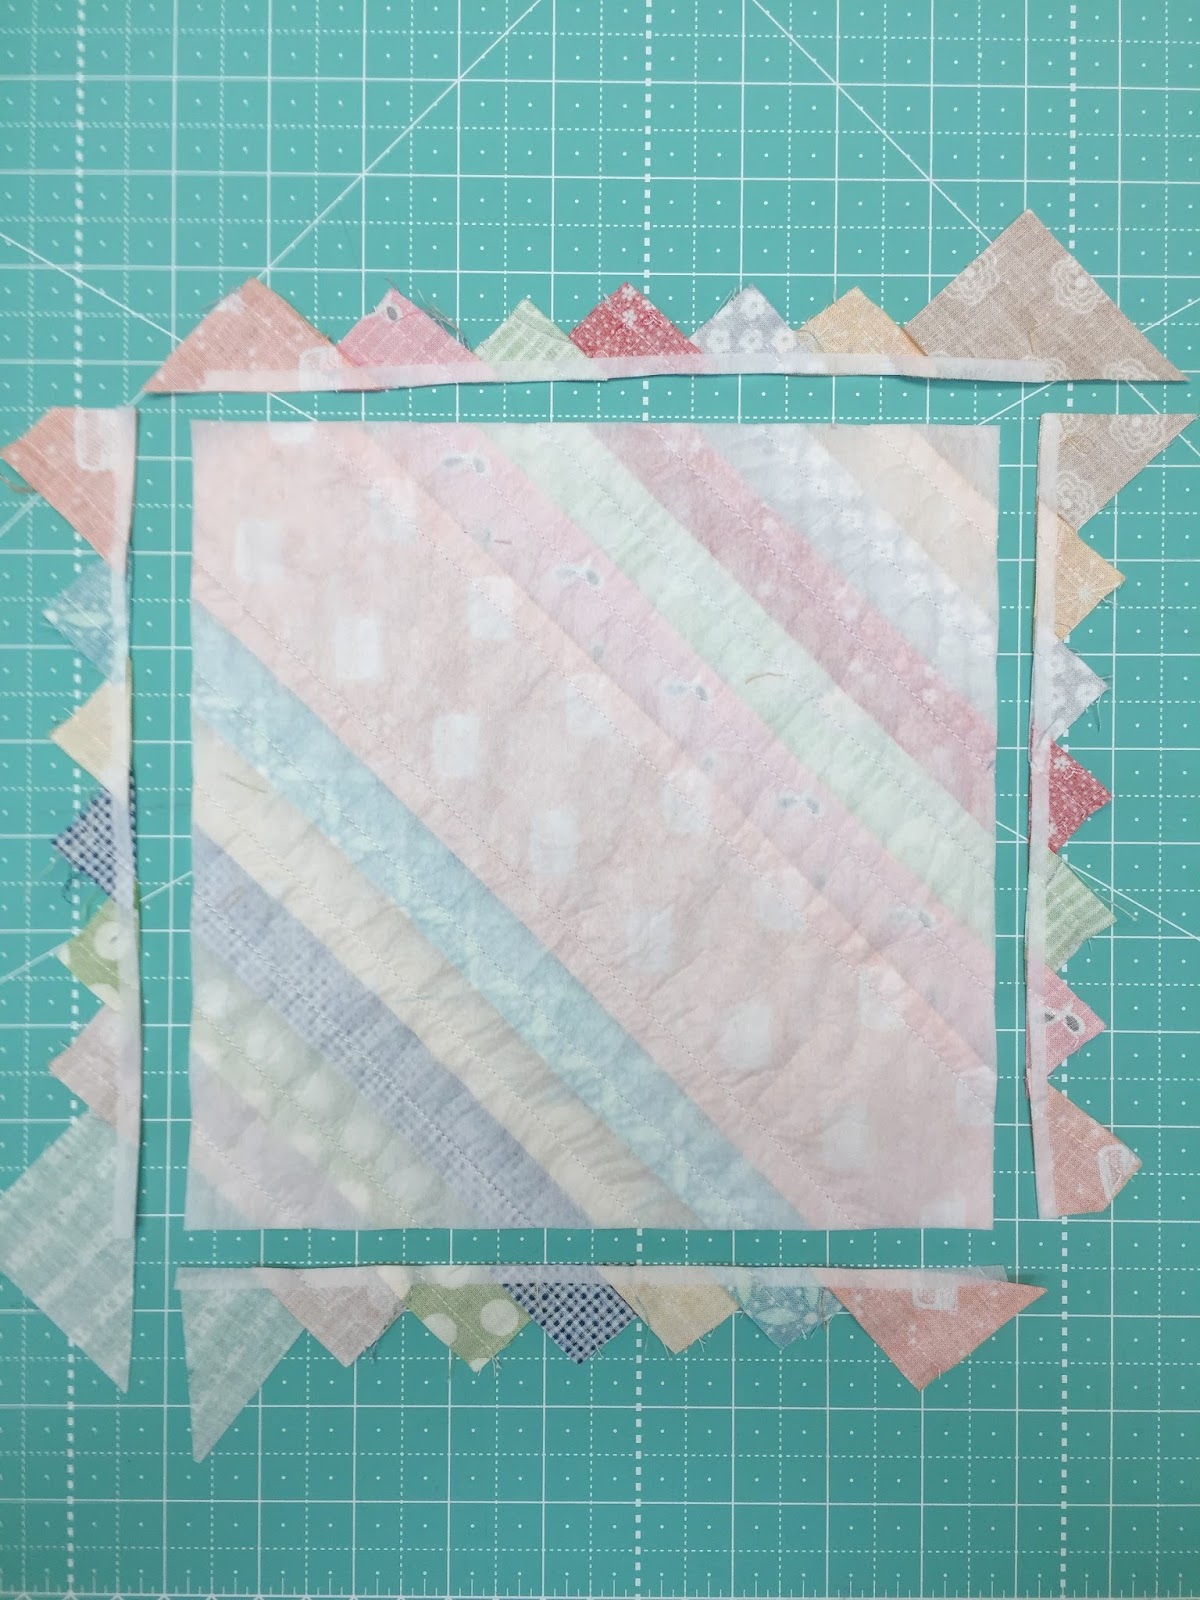
This is what the back of my block looks like after sewing but before trimming.

Grab an 8 1/2" square Trim-It Ruler...
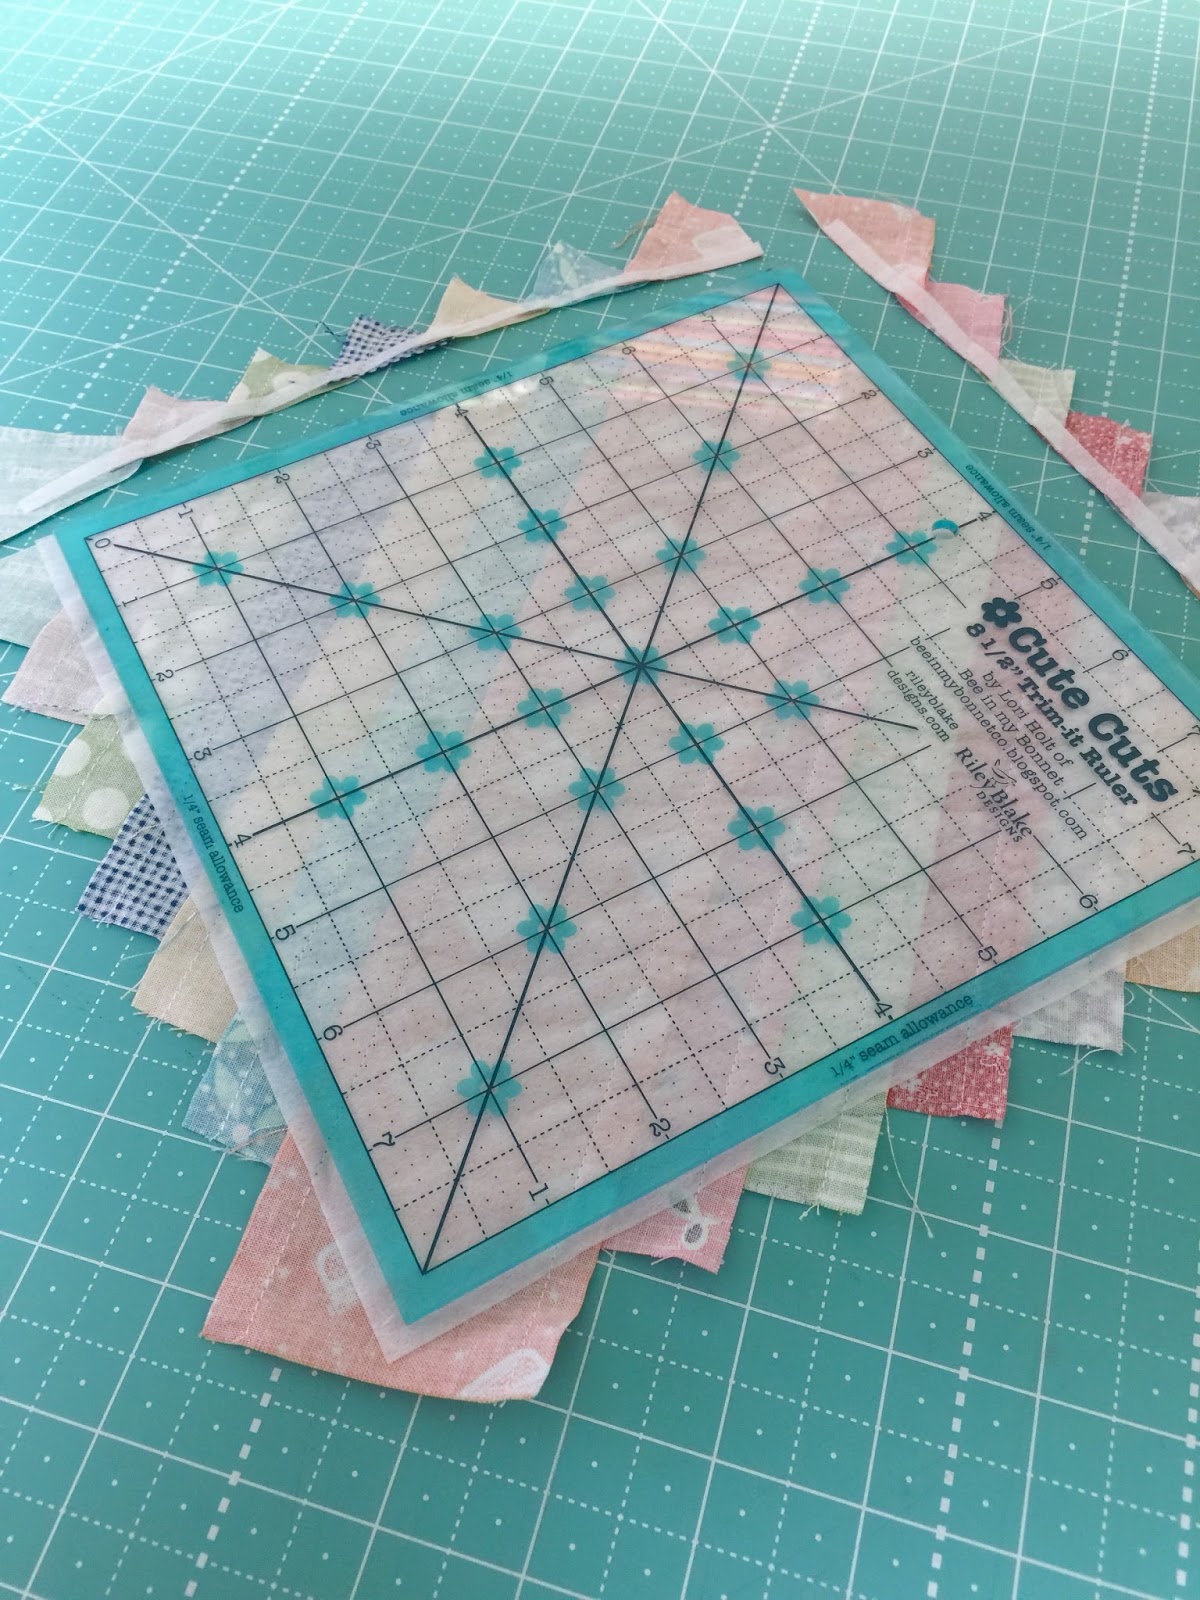
and center it onto the
back of your block.
Make sure there is interfacing
sticking out beyond all four sides
of the ruler before trimming.
The ruler and a sharp rotary cutter
make this step
fast...easy... and accurate!

FUN and DONE!!!

Aren't they just the cutest?
They make me SEW HAPPY:)
Super Stacked Scrappy Strings!
Say that fast 3 times lol:)
Just in case you are wondering...
YES!
I leave the interfacing in.
It adds some stability and body
to your quilt and because the
interfacing is thin...
It is not too bulky at all.

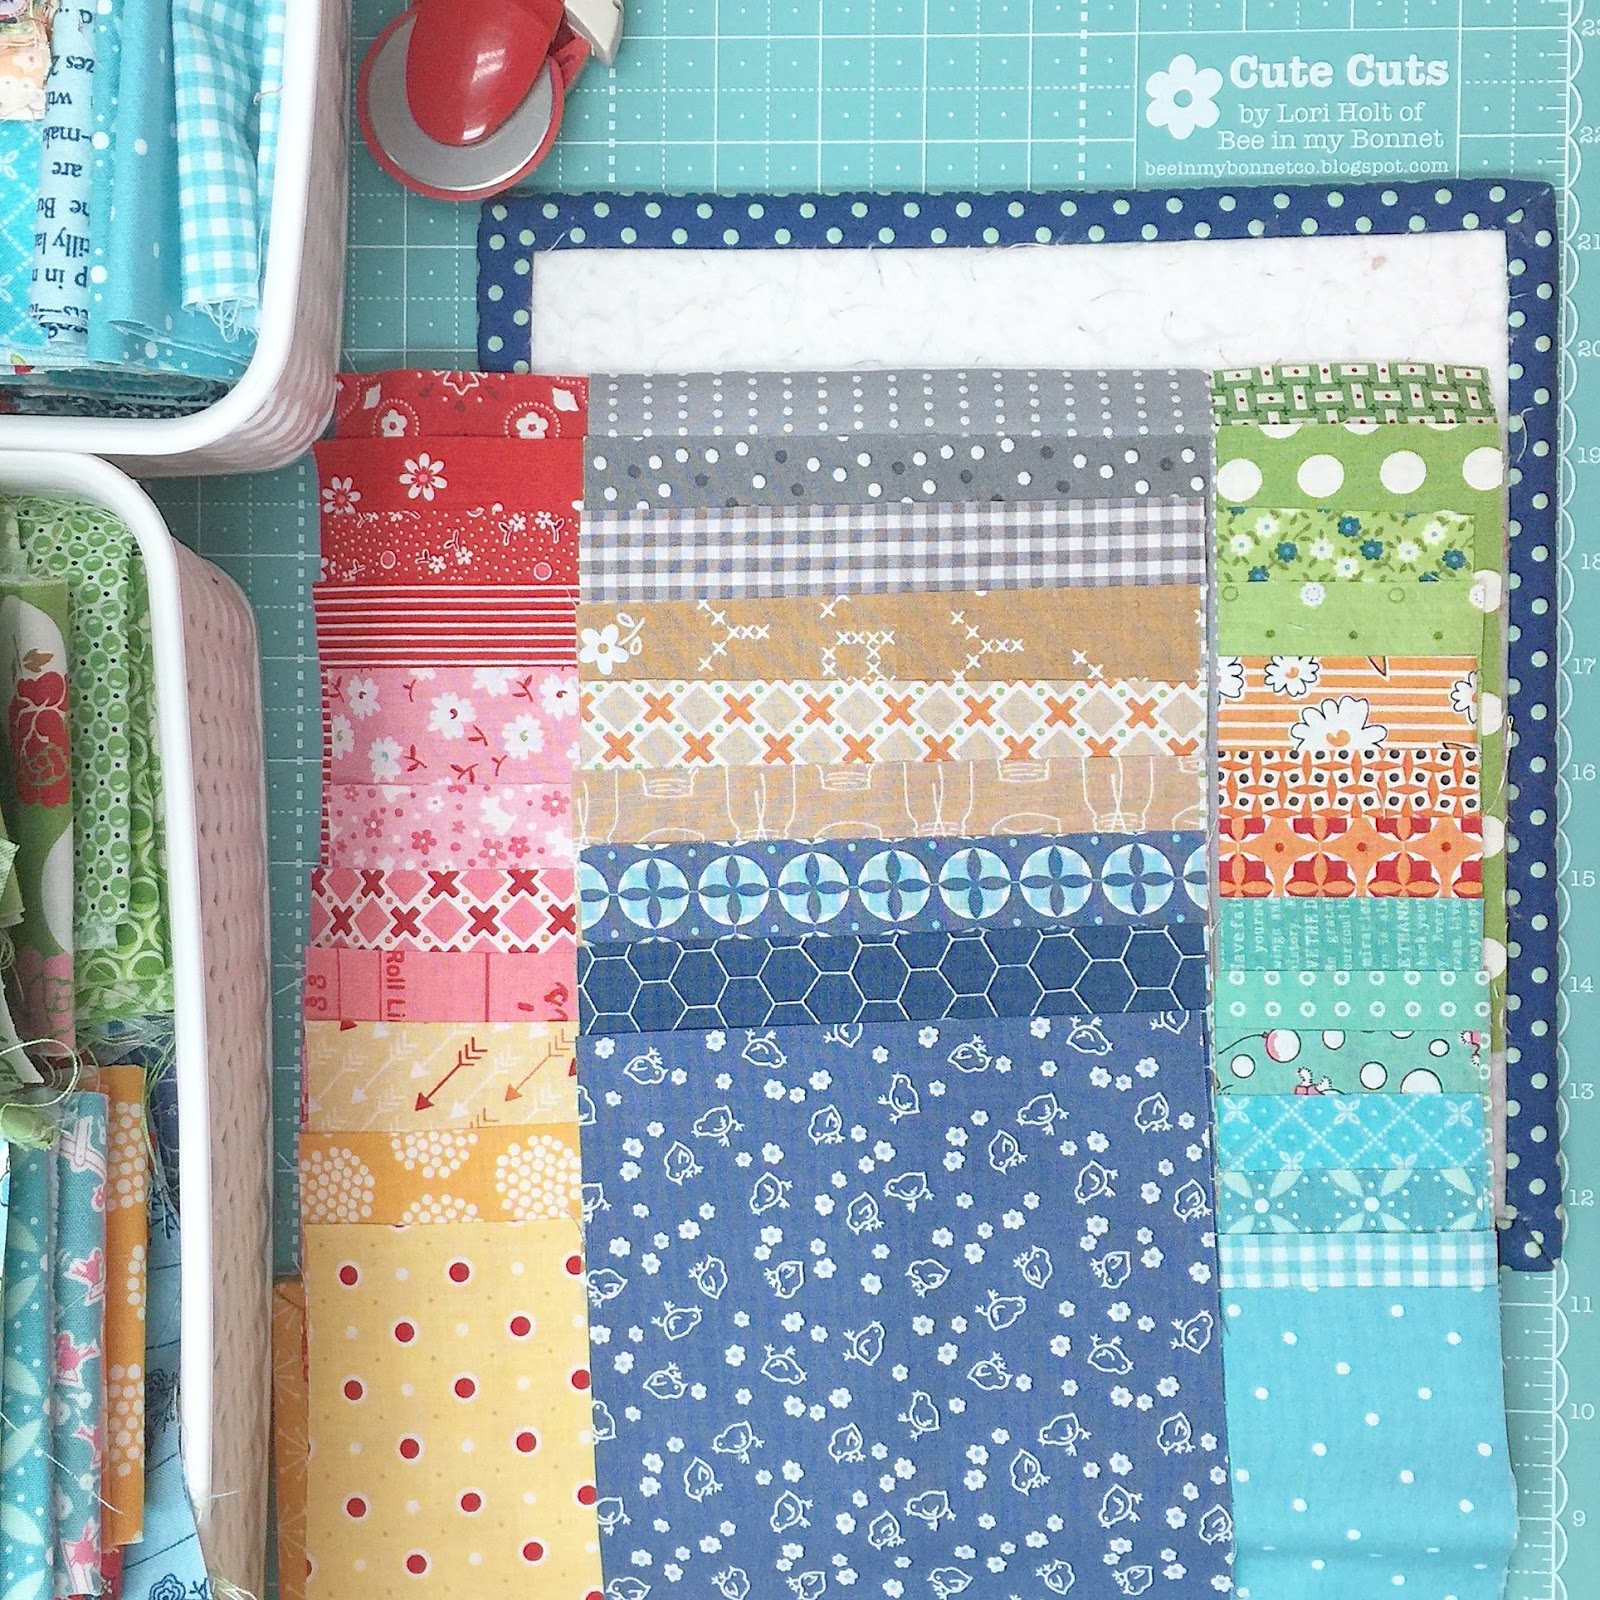
Some of my blocks have a
3 1/2" starter strip
down the center and
3 1/2" squares on the corners.
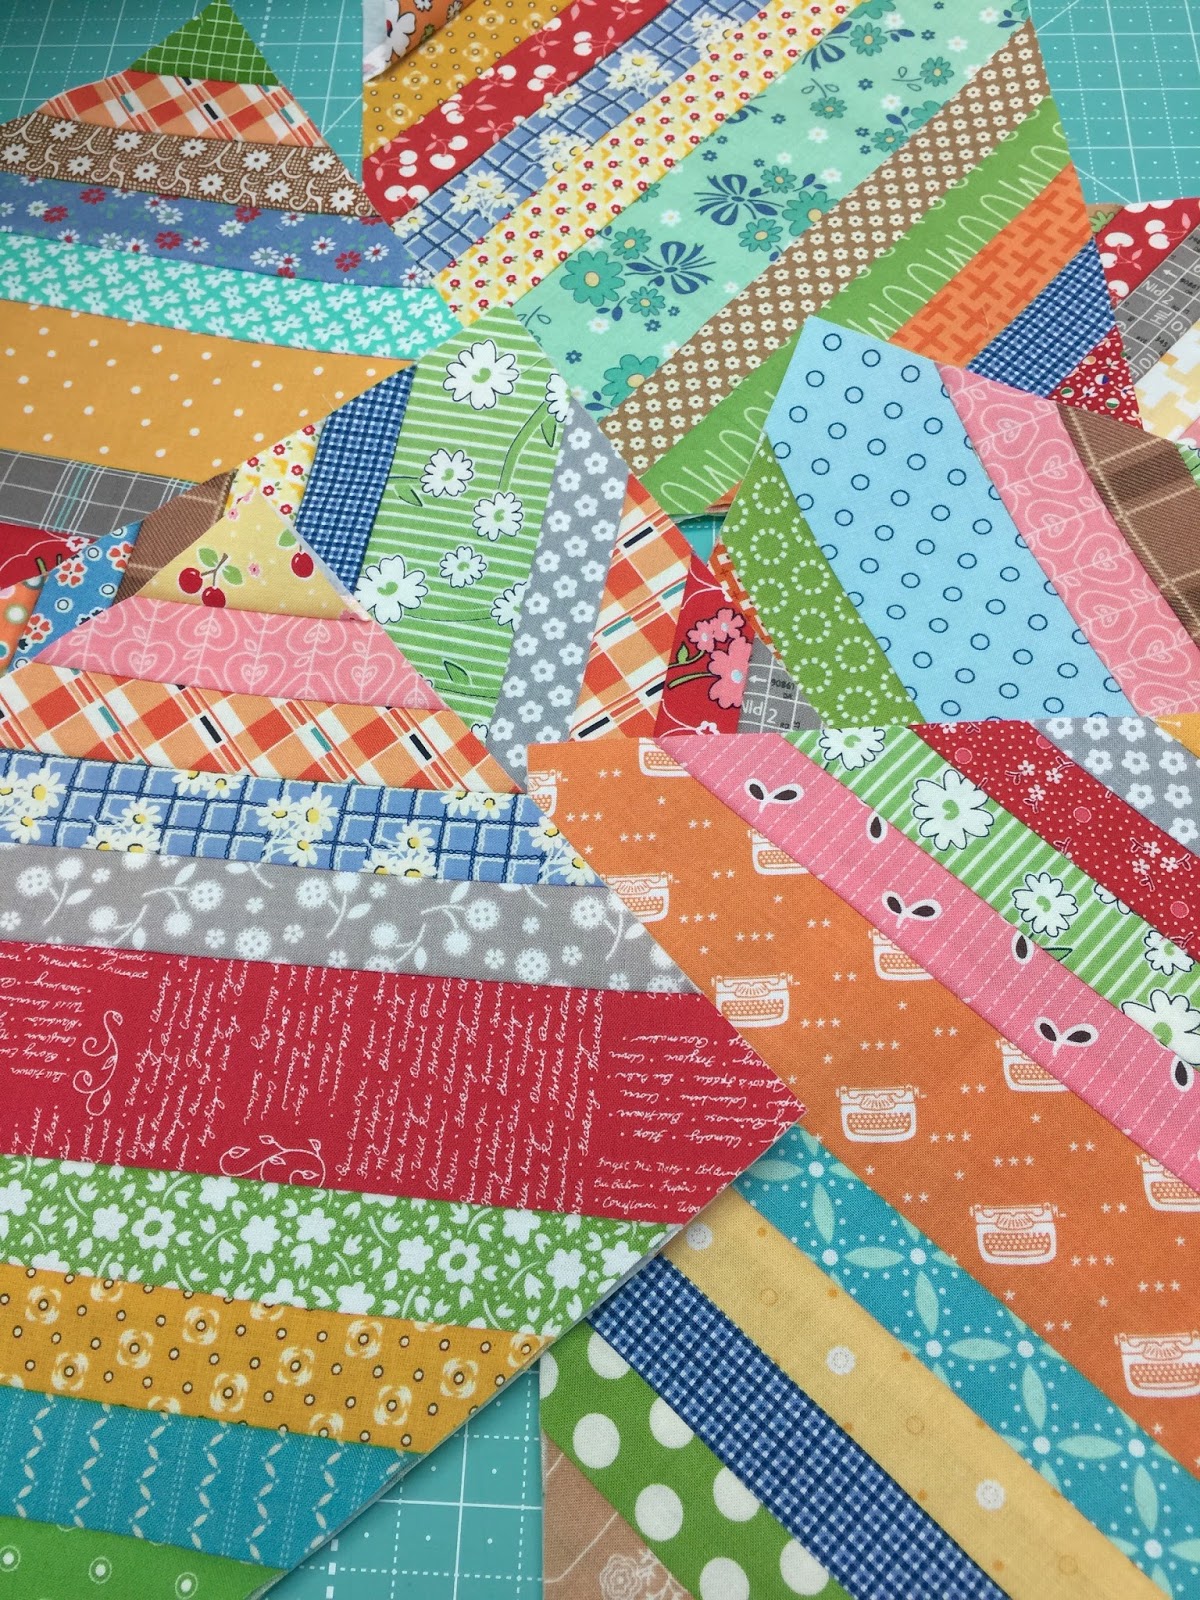
These are more blocks with
2 1/2" strips down the center.

Some I have made with
all 1 1/2" strips
and various sized squares
for the corners.
I think it makes
the quilt more interesting
to vary the width sizes...
and also allows you to use up
lots of your scrappy stash:)
I hope you've had fun with my latest
"Scrappy Happy Tutorial"
Stay tuned for more!!
xx
Lori


